Papercrafting Threads

  • Tutorials
    • PDF Tutorials
    • 3D Projects
    • Cardmaking
    • Fun Fold
    • Product Tips & Tricks
    • Projects
    • Techniques
  • Catalogs
  • Shop & Specials
    • Shop My Stampin’ Up! Online Store
    • Special Offers
    • Buy Me A Coffee
    • My Favorite Things on Amazon
    • Gift Certificates
  • Contact Me
  • Join the Fun
    • Join the Fun
    • Special Join Offers
  • Calendar of Events
  • Paper Pumpkin
    • Paper Pumpkin Kits
    • Paper Pumpkin Stamp Case Inserts
  • Nav Social Menu

    • Email
    • Facebook
    • Instagram
    • Pinterest
    • YouTube

TriFold Gift Card Holder

April 9, 2024 Leave a Comment

9 Apr
Tri Fold Gift Card Holder front with blue, pink and yellow floral pattern and large blue Oh happy day sentiment on double belly band; inside bright yellow and whitepolkadots and pocket with gift card

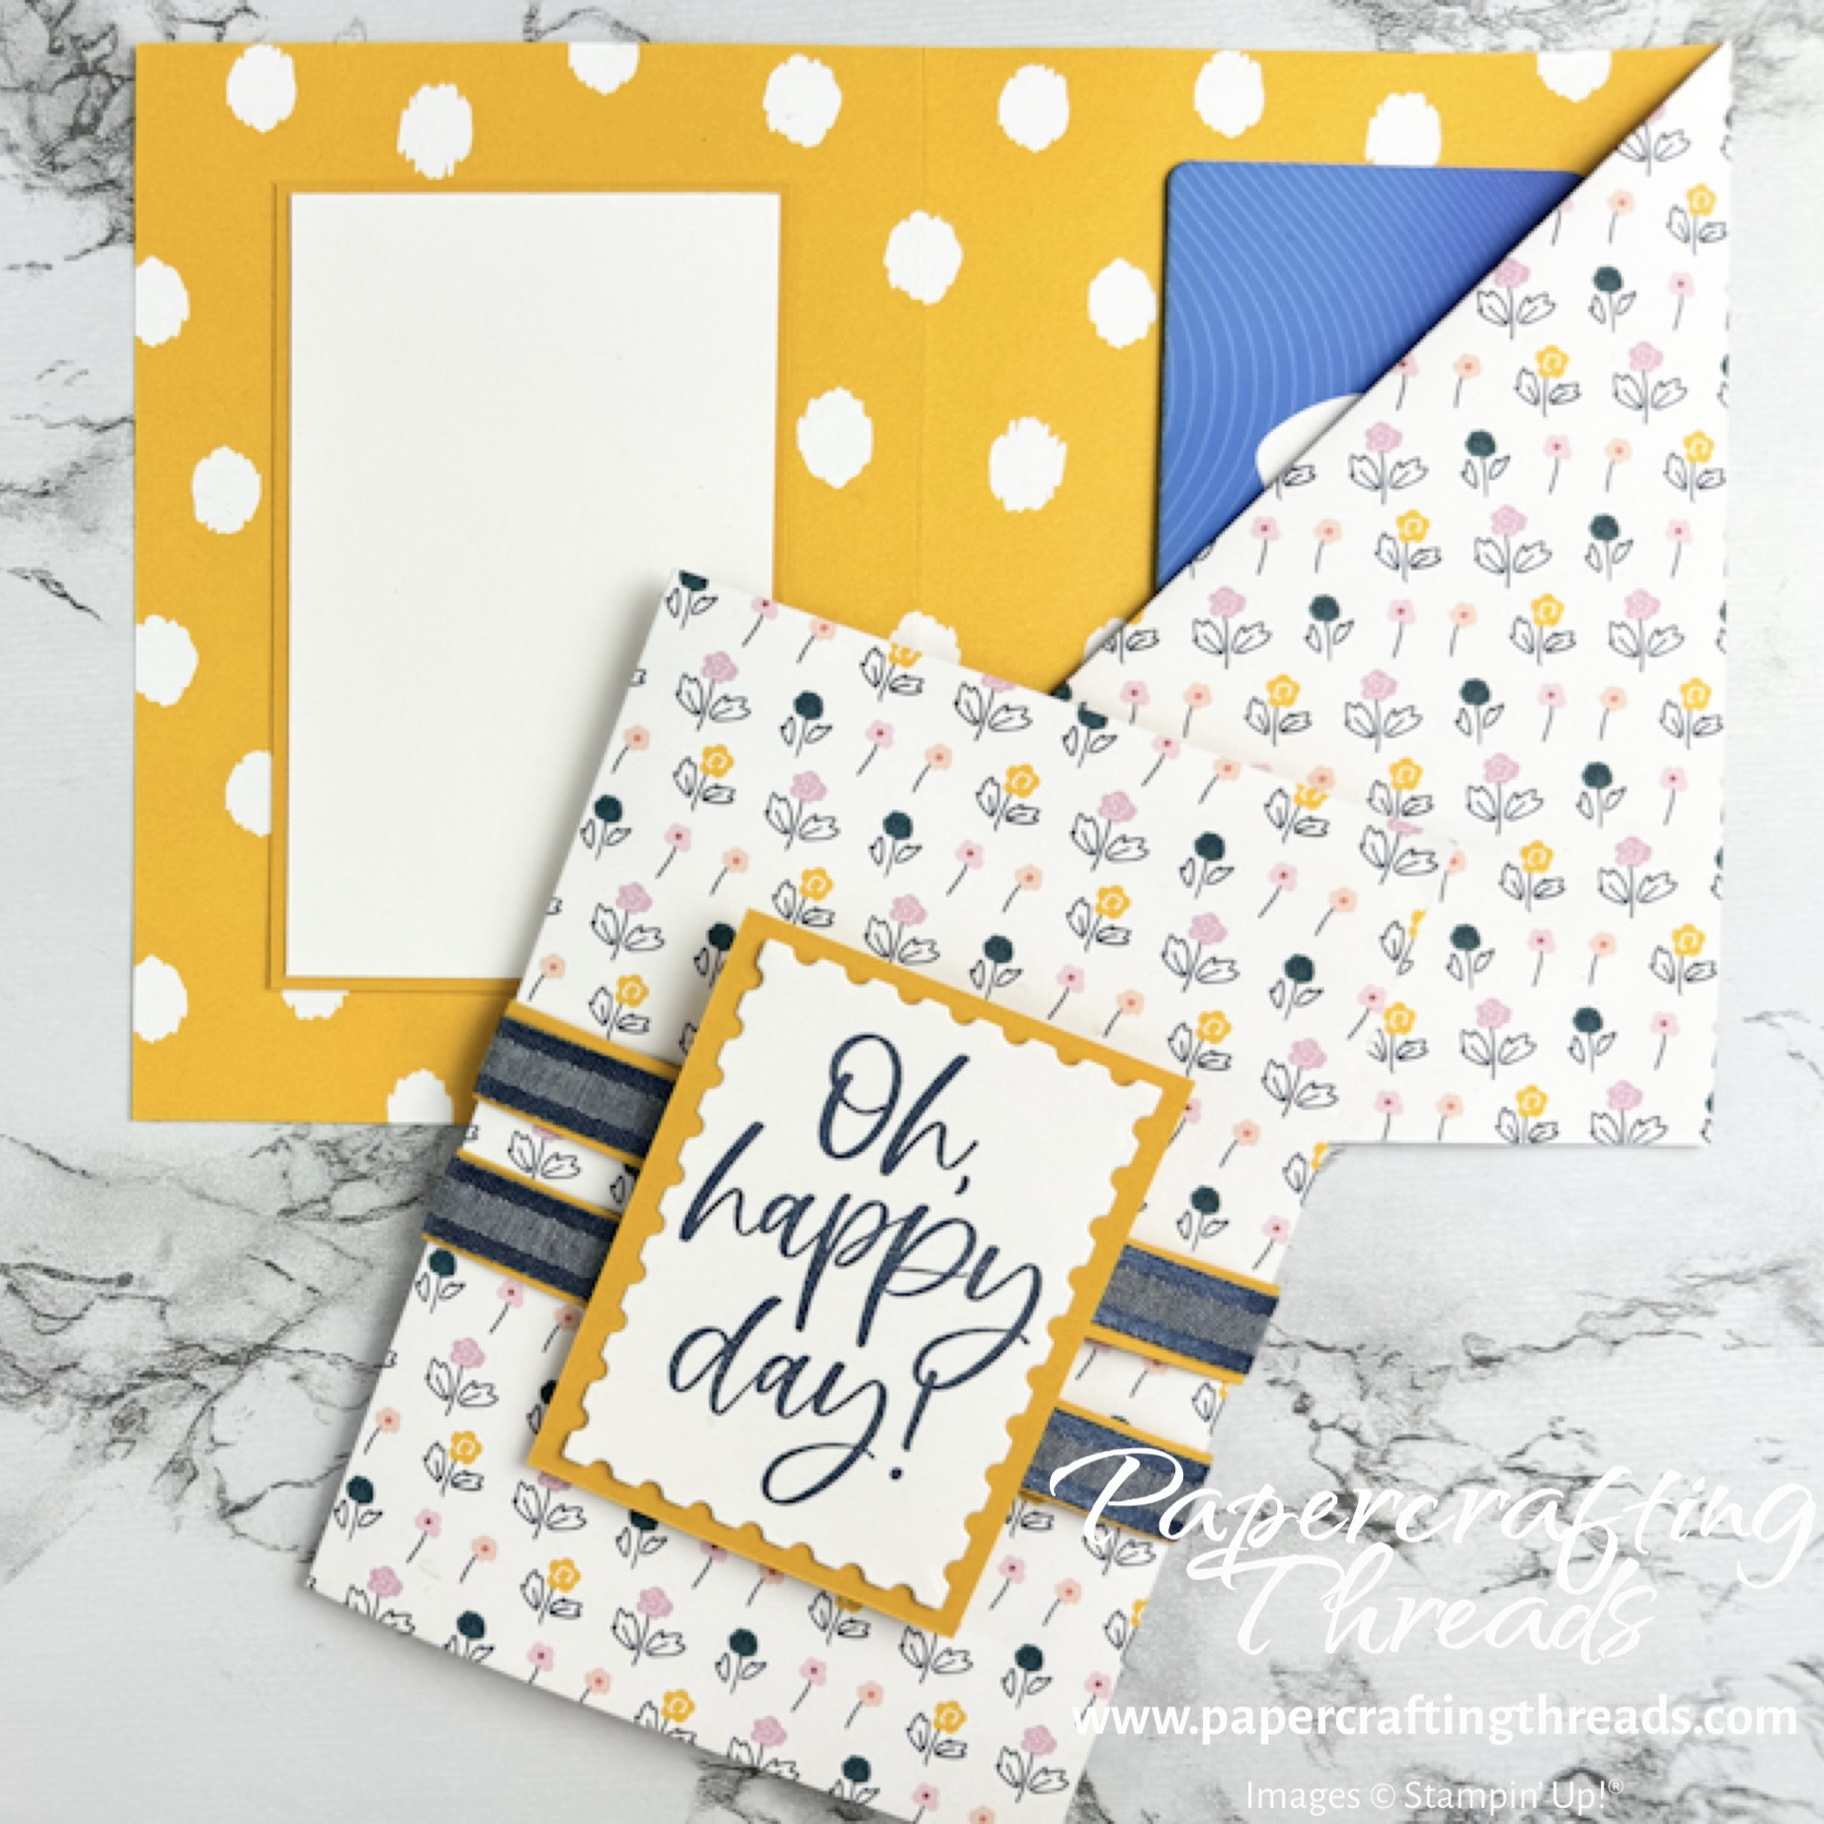
Make a quick and easy TriFold Gift Card Holder to jazz up those gift cards (or cash gifts) for any occasion, from birthdays to graduations – just swap out the sentiment and patterned paper. This simple fun fold also showcases both sides of the patterned paper and works even with directional patterns.

Tri Fold Gift Card Holder front with tiny blue, pink and yellow flowers scattered over front with large blue Oh happy day sentiment bordered with yellow and two bands of blue and yellow

cutting & scoring guide

Paper DimensionsScore Long Side
5-1/2″ x 12″ Patterned Paper for card base4″ and 8″
2-1/4″” x 3″ Crushed Curry cardstock
2-5/8″ x 4-1/8″ Crushed Curry cardstock for inner mat
1/2″ x 11″ Crushed Curry cardstock (cut 2)
2-1/2″ x 4″ Basic White cardstock for inner message1″, 2″, 3″, 4″ & 5″
Scrap of Basic White cardstock for diecut sentiment
Cutting & Scoring Guide for TriFold Gift Card Holder

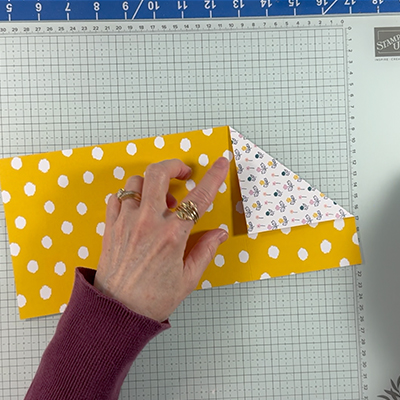
step by step instructions trifold gift card holder

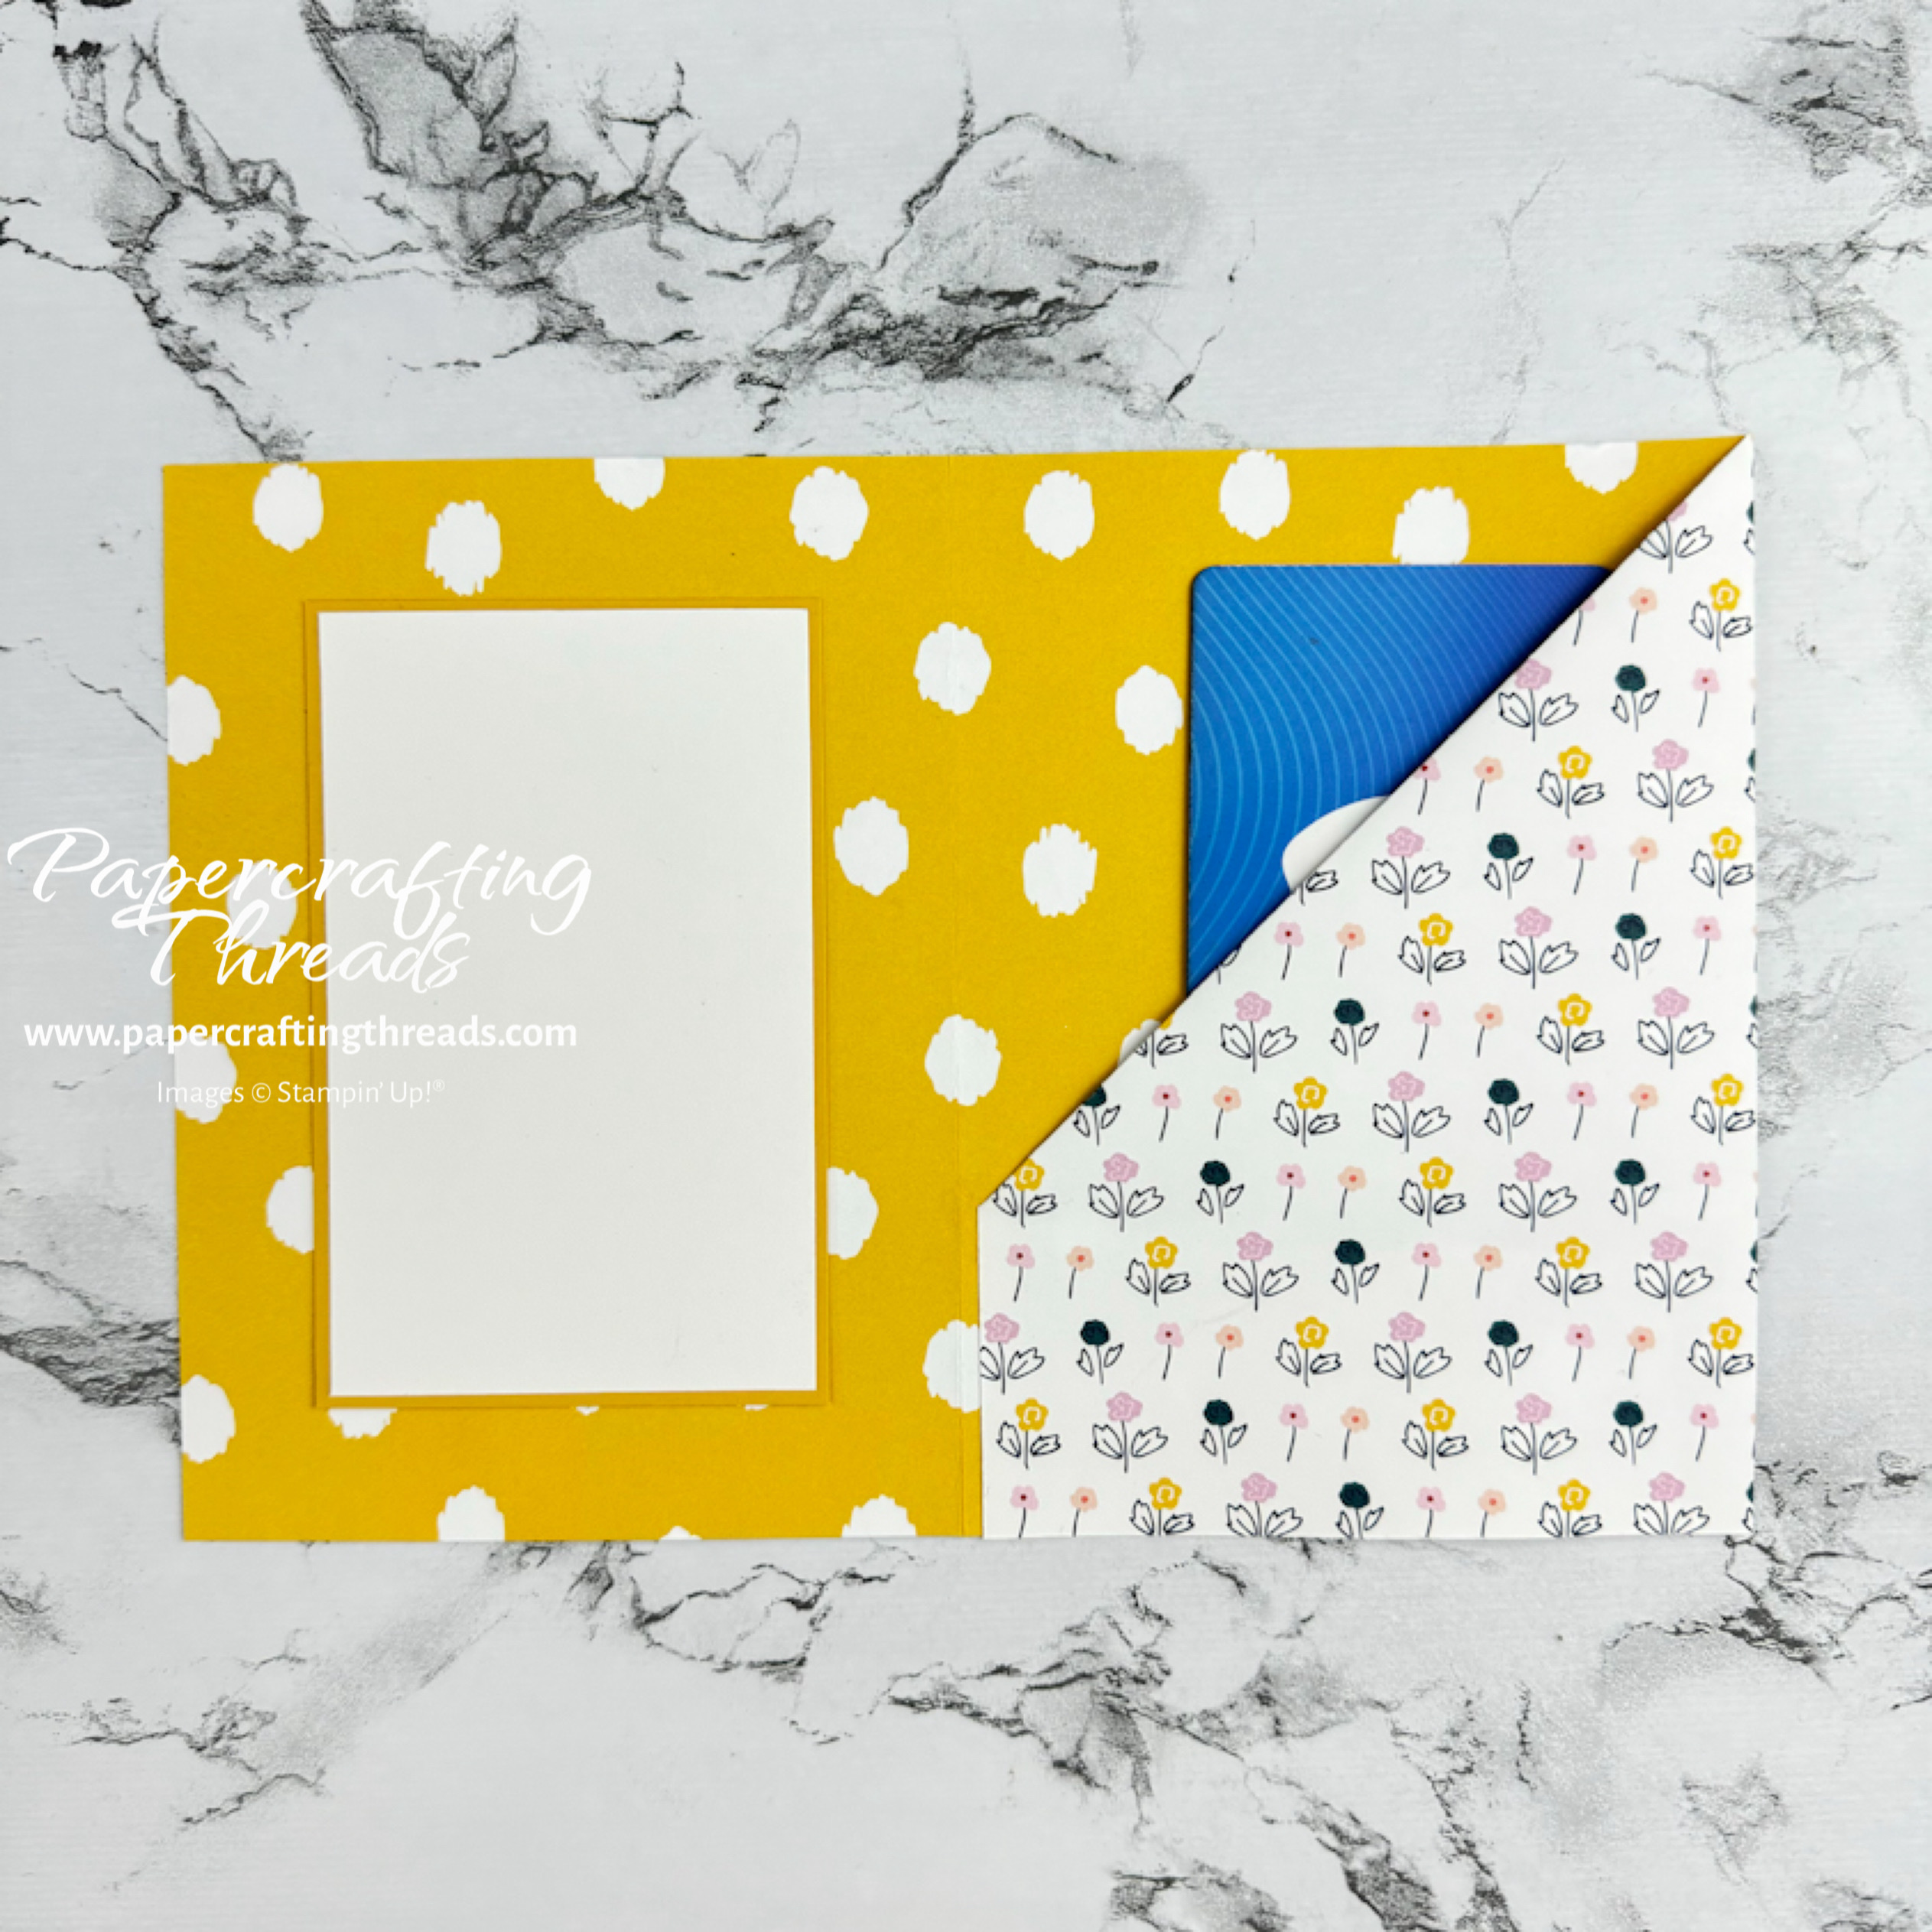
With inner pattern face up, cut off a slim strip on right edge of patterned paper (no more than 1/8″). Turn down top right corner, stopping just shy of the 4″ score line.

Fold right corner down

Add liquid glue below the flap and fold over towards the left to form a pocket.

Add liquid glue to lower portion on right side panel

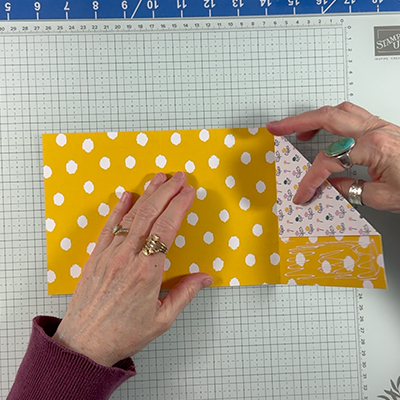
TIP: Don’t use a tape runner for the pocket adhesive. Depending on the humidity in your location, the edge of the inserted gift card can stick to the adhesive.

Layer the Basic White inner mat with the Crushed Curry inner mat and adhere to inside left flap. Insert gift card in pocket. Fold on score line and close front flap.

Inside of Tri Fold Gift Card Holder showing white message panel on left and pocket for gift card on right

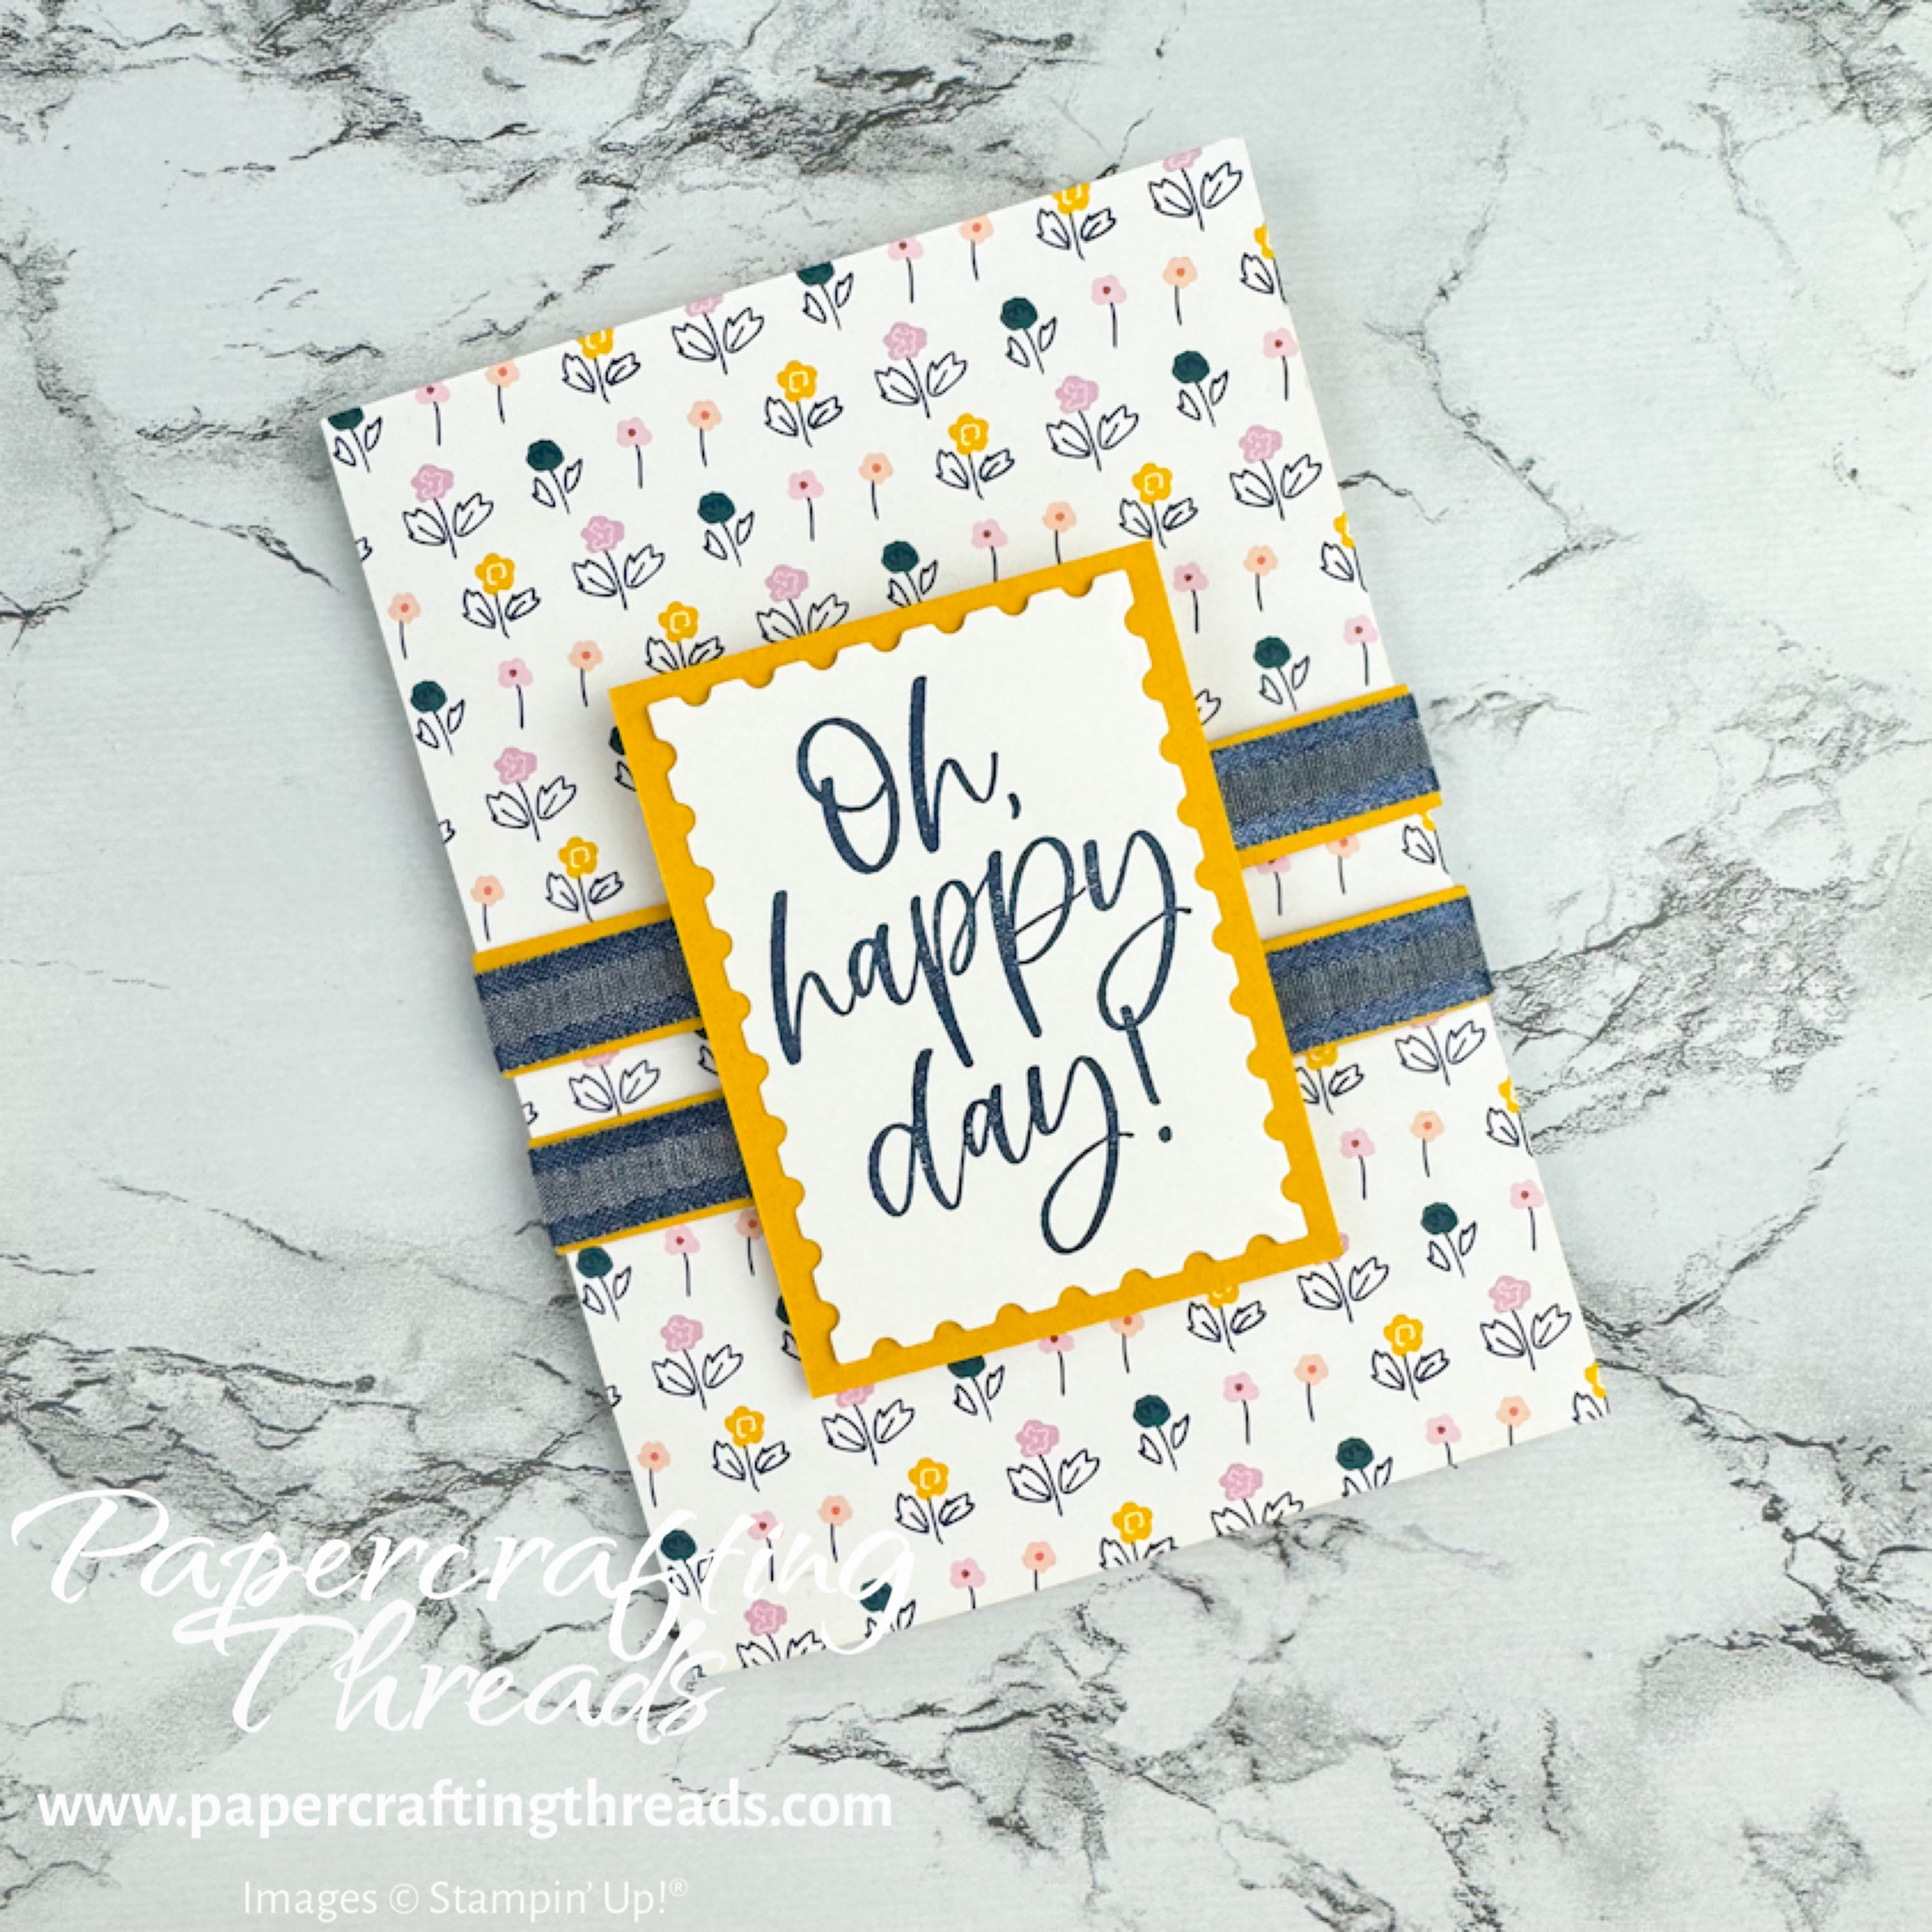
decorating the front

Wrap each 11″ strip around the card front, leaving ends to meet on the center front of the card. Adhere each belly band with glue dots. Add SEAL tape runner to front of bands and wrap Night of Navy ribbon around the bands, ending at the front. Adhere glue dots to center of bands. Stamp sentiment from Kindest Expressions stamp set in Night of Navy ink on scrap of Basic White cardstock and diecut with die from Perennial Postage Dies. Adhere on top of Dimensionals.

Check out the video tutorial over on my YouTube channel for a visual.

Share:

Leave a Comment
see more related posts: Cardmaking· Fun Fold

Previous Post: « Twisted Ribbon Card Technique
Next Post: Single Bridge Card Tutorial »

Reader Interactions

Leave a Reply Cancel reply

Your email address will not be published. Required fields are marked *

Primary Sidebar

Peri Beal

Cheesehead. Avid reader. Antique hunter.

Shop Online

Shop with me and get a FREE PDF tutorial bundle delivered to your inbox AND a handmade card via snail mail

Search

Papercrafting Threads

Gift Certificates
  • Email
  • Facebook
  • Instagram
  • Pinterest
  • YouTube

Sign up for my Newsletter

Sign up for my newsletter and get a free PDF tutorial as my welcome thank you!

Almost there...

Please check your email to confirm your subscription

Retired Product
Privacy Policy

The Fine Print

Just so you know... This is a personal website and I am responsible for its content. Stampin' Up!® does not endorse the use of or contents of the classes, services, or non-Stampin' Up! products I offer.

Sign up for my Newsletter

Sign up for my newsletter and get a free PDF tutorial as my welcome thank you!

Almost there...

Please check your email to confirm your subscription

Footer

  • Calendar of Events
  • 3D Projects
  • Cardmaking
  • Fun Fold
  • Product Tips & Tricks
  • Projects
  • Techniques
  • Of Interest
  • Catalogs
  • Join the Fun
  • Contact Me
  • Email
  • Facebook
  • Instagram
  • Pinterest
  • YouTube

PAPERCRAFTING THREADS

Copyright © 2025 · Refined theme customized by Catherine Carroll

Privacy Policy · Affiliate Disclosure