One of my favorite techniques for creating unique watercolor backgrounds is to stamp with the Clear Blocks that we use with our clear mount and photopolymer stamps. This is a simple and fun way to create a very interesting background – and you never really know for sure what it will look like until it’s dry!
The technique works best on Watercolor Paper, but I’ve also used it with regular or thick Whisper White or Very Vanilla card stock. Shimmery White cardstock will also work.
The technique is simple – just paint color directly onto the Clear Block, spritz with water, and immediately press the wet side of the block onto the paper. Be sure to allow the paper to dry completely before stamping over the watercolor. (You can either allow it to air dry or use a heat tool to dry it more quickly.)
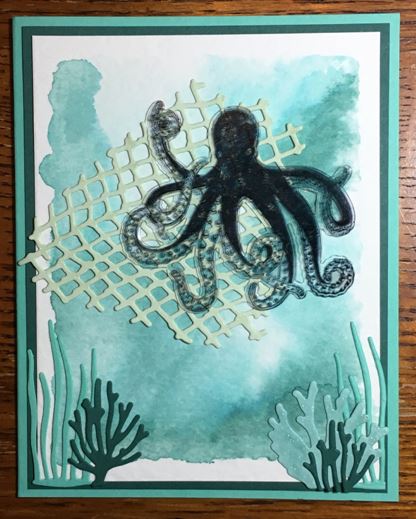
My first sample was stamped on watercolor paper. This design was made with an “E” Clear Block and Tranquil Tide, Bermuda Bay, and Pool Party Stampin’ Write Markers. (It’s hard to see in this photo, but I also added a little Wink of Stella here and there on the netting as well as on one of the plants along the bottom edge.) The octopus was stamped on a Window Sheet with Black StazOn Ink and allowed to dry completely before cutting out with the coordinating die. The Sea of Textures Stamp Set and Under the Sea Framelits Dies are featured in the 2018-2019 Annual Catalog.
How much water should you spritz on the clear block?
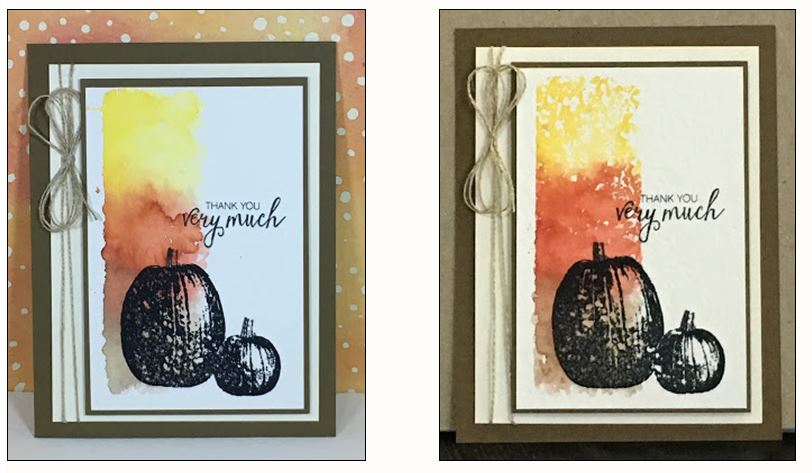
That depends on what effect you want. If you want your card to look more like the card shown on the left, spritz a little more water . . . but not so much that you wash the ink entirely off the block (maybe four spritzes). For a little different look (card on the right), try spritzing a little less (maybe three spritzes). You can see this has a little drier, more controlled, look. You kind of need to just play around with the technique until you’re comfortable with the spritzing. (Stamps used here are now retired.)
TIP: The paper has a tendency to curl up and warp a little when you apply water. Generally, it flattens back out while it’s drying; however, sometimes it remains a little warped. Here’s a tip I picked up somewhere online: After your card stock or watercolor paper dries, run it through your Big Shot to flatten it. (Place your paper between two sheets of copy paper and be sure to use new, unscarred cutting pads on each side so you don’t leave impressions in the paper.) Another way to avoid having the paper curl up is to tape all the edges onto a clip board or other flat surface with washi tape. Allow to dry completely before carefully removing the tape.
For the cards pictured above I used watercolor paper with a Size “H” Clear Block and Crushed Curry, Cajun Craze, and Soft Suede Stampin’ Write Markers.
More Watercolor Backgrounds
The samples below were stamped on Whisper White cardstock using a Size “D” Clear Block and Cajun Craze, Crushed Curry, and Mossy Meadow Stampin’ Write Markers. For this one I just scribbled the colors randomly ontothe Clear Block. After stamping the tree image, I used a Black Stampin’ Write Marker to trace a line around the outer edge of the watercolor design. (Stamps used here are now retired.)

I hope you enjoy this watercolor backgrounds technique and give it a try!
Leave a Reply