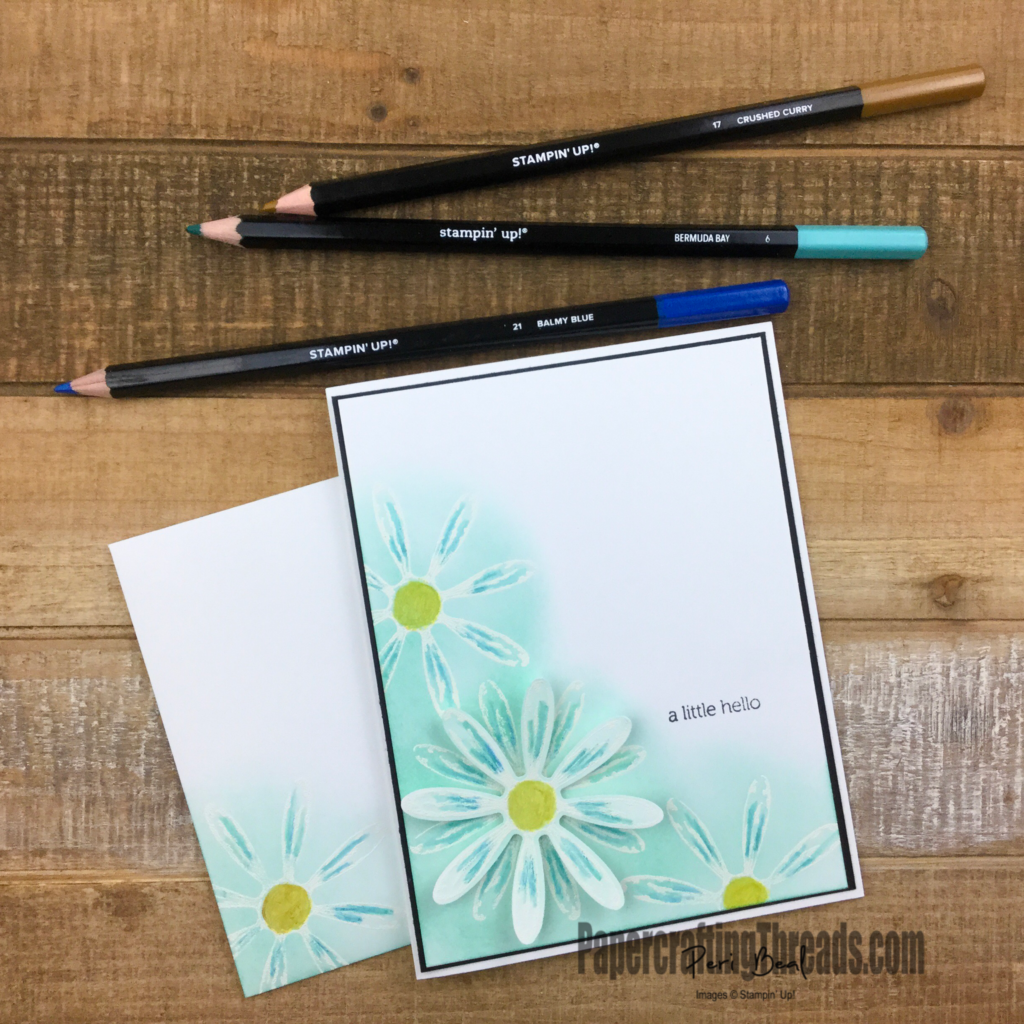
I tried a great new technique tonight — watercolor pencil over a watercolor wash! Well, actually, that’s sponged ink in the background, but it reminds me of watercolor, so close enough :).
Supplies:
Whisper White cardstock, cut 5 ½” x 8 ½”, scored at 4 ¼
Basic Black cardstock, 5 ¼” x 4”
Whisper White cardstock mat, cut 5 x 3 ¾”
Whisper White scrap
Daisy Delight Photopolymer Stamp Set
Daisy Punch
Pool Party Classic Ink
Sponge Dauber
Versamark Ink
White Embossing Powder
Heat Tool
Itty Bitty Greetings Cling-Mount Stamp Set
Black Memento Ink
Watercolor Pencils: Bermuda Bay, Balmy Blue & Crushed Curry
Blender Pen
Multipurpose Glue
Dimensionals
Whisper White Medium Envelope
Instructions:
- On Whisper White mat, stamp daisy image three times in Versamark ink. Sprinkle with White Embossing Powder and heat set using a Heat Tool. TIP: Let Heat Tool warm up for 30 seconds before heat setting images.
- Dab the sponge dauber into the inked pad of Pool Party and using a swirly motion, sponge the ink over the embossed daisies as shown on sample card. Wipe off excess ink from embossed images with a paper towel.
- Use the watercolor pencils to add color to the flower centers and petals. Blend the colors with the Blender Pen.
- On scrap of Whisper White cardstock, emboss one daisy image and watercolor the image with pencils. Punch out image with Daisy Punch.
- Stamp greeting from Itty Bitty Greetings in Memento Ink as shown.
- Adhere layers with Multipurpose Glue.
- Pop up freestanding daisy with a Dimensional on the back of it, and offset from the daisy image below.
- Repeat steps 1 through 3 on bottom left corner of envelope.
I really like this technique because the colors of the watercolor pencil change a bit because of the sponged layer underneath. The new colors created expand the palette while still coordinating. What colors will you create?

Leave a Reply