
Here’s a fabulous fun fold called a Z-Fold Pop Up Center card. Looks complicated but is just squares and knowing where to cut and how to position each one! Read on for the complete directions…
cutting & scoring guide
| Paper Dimensions | Score Long Side | |||
| 5-1/2″ x 8-1/2″ Basic White cardstock base | 2-1/2″ and 4-1/4″ | |||
| 1″ x 4″ Basic White cardstock pop up mechanism | 1″, 2″ and 3″ | |||
| 4″ x 4″ Dandy Designs patterned paper for triangles | 2″ pencil mark each side | |||
| 2-3/4″ x 2-3/4″ Dandy Designs patterned paper for pop up square | ||||
| 2″ x 5-3/8″ Dandy Designs patterned paper for panels | ||||
| 1-7/8″ x 1-7/8″ Fresh Freesia cardstock for front diamonds (cut 2)1 | ||||
| Scraps of Basic White cardstock for owls |
Step by Step Instructions
Make a pencil mark at 2” on all four sides of the 4” Dandy Designs DSP square. Then line up two adjoining pencil marks on the cutting groove of a Stampin’ Trimmer and cut off the triangle. Rotate the piece and repeat until all four sides have been done and you are left with 4 triangles and a 3″ square.
Stamp the Adorable Owls in black Memento ink and color them in with Stampin’ Blends.
Head and body: SU500 and Bronze
Face and belly: Ivory
Beak and feet: Dark Daffodil Delight
Eyes: Light Fresh Freesia, Dark Daffodil Delight and Light Flirty Flamingo
Then fussy cut each owl. I removed the party hat from the standing owl – no need to mask, just continue cutting around the feathers on his head and you could never tell he had a hat.
Base & Mechanism of z-Fold Pop Up Center Card
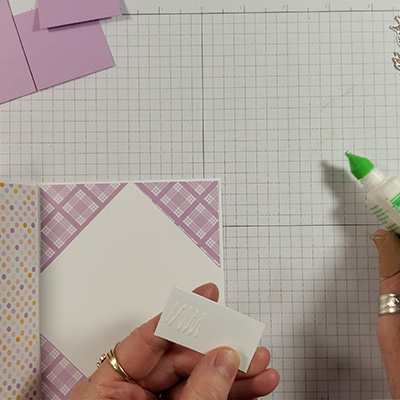
After cutting and scoring the card base, z-fold and burnish the scorelines. Add glue and adhere the triangles to each of the four corners on what will become the inside of the card. Adhere the strips of Dandy Designs paper to the front panel and inside panel.
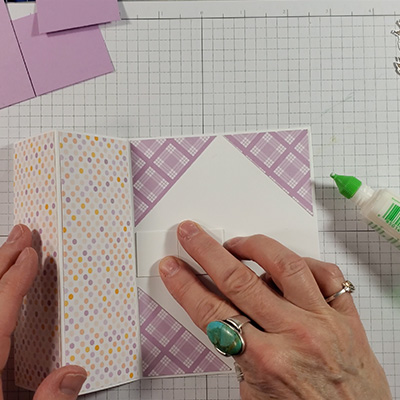
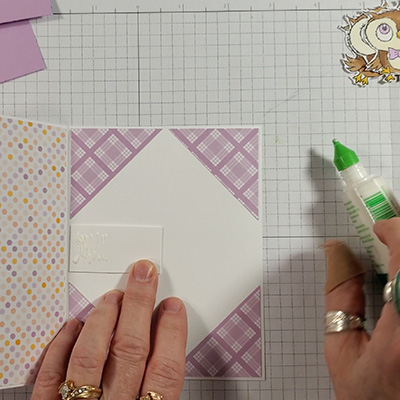
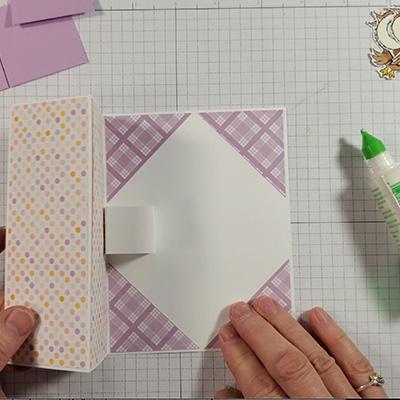
Fold the Basic White strip on all three scorelines, then fold it in half and add liquid glue to one of the squares at the open end. Next place the square face down and centered next to the seam of the card base. Press and hold until the glue sets. Then add glue to the top square at the open end and fold the card shut, press and hold until the glue sets.
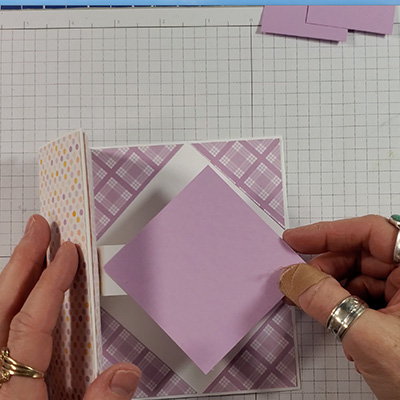
With the leftover 3” square of Fresh Freesia cardstock in diamond position, butt the left point up to the crease in the card base. Center the piece using the adhered triangles as guides. Then pick up the card, flip it over, and trim off the excess point from the square.
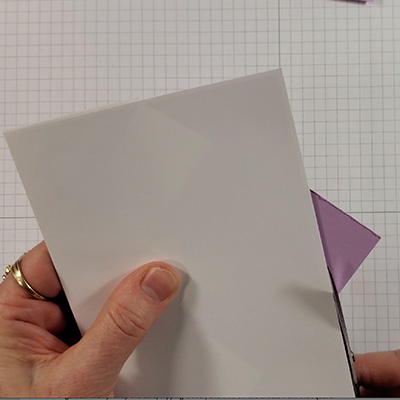
Then place the open card facing up, place the trimmed square so the flat edge lines up with the inside scoreline. If the right point extends past the right card edge, trim the flat edge with your snips.
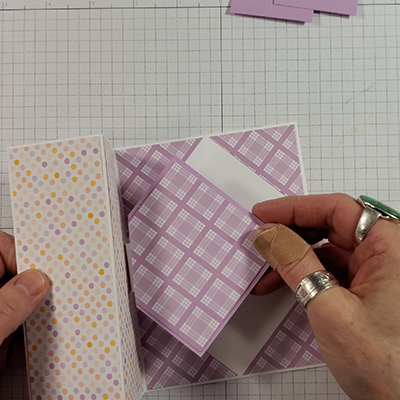
Now adhere the 2-3/4” square of patterned paper to the diamond. Flip it over and trim off the excess. Then add liquid glue to the top of the ‘shelf’ pop up mechanism and adhere the diamond with the flat edge next to the scoreline.

Decorate the front
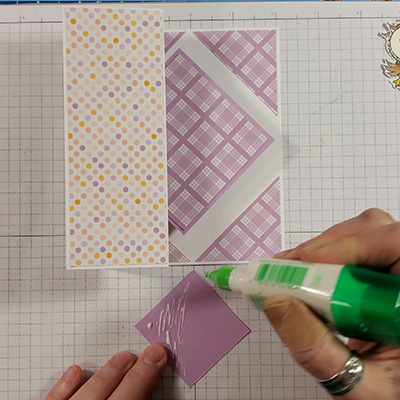
Add glue to just the left side of one of the 1-7/8″ square Fresh Freesia cardstock and adhere to right edge of the left flap, lining up the points of the diamond with the flap. Repeat with the remaining square.
Then add dimensionals to the backs of the owls and place on the diamonds. I positioned the owls with their eyes glancing at each other, like the opening sequence to the Brady Bunch!!
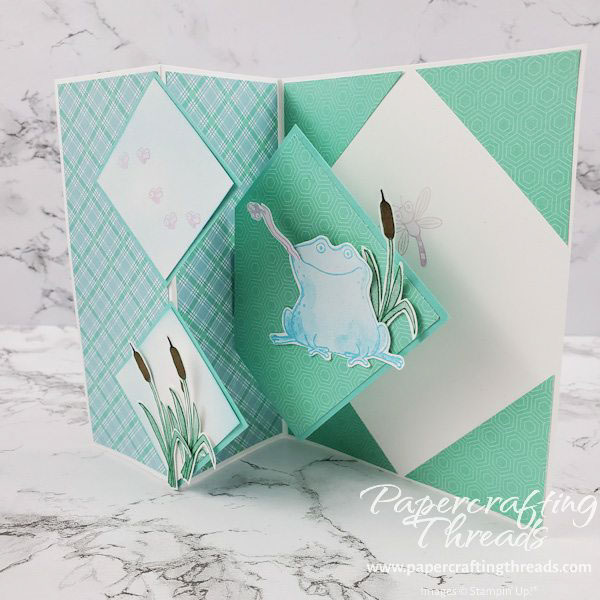
These Z-Fold Pop Up Center cards are addictive — check out this At The Pond version. As you open the card, the fly on his tongue is revealed and so is the dragonfly behind him!!
Leave a Reply