Papercrafting Threads

  • Palette Threads
  • Tutorials
    • PDF Tutorials
    • 3D Projects
    • Cardmaking
    • Fun Fold
    • Monday Mashup
    • Product Tips & Tricks
    • Projects
    • Techniques
  • Shop & Specials
    • Shop My Stampin’ Up! Online Store
    • Catalogs
    • Special Offers
    • Buy Me A Coffee
    • My Favorite Things on Amazon
    • Gift Certificates
  • Contact Me
  • Join the Fun
    • Join the Fun
    • Special Join Offers
  • Calendar/Events
  • Paper Pumpkin
    • Paper Pumpkin Kits
    • Paper Pumpkin Stamp Case Inserts
  • Nav Social Menu

    • Email
    • Facebook
    • Instagram
    • Pinterest
    • YouTube

Embossing Powder Techniques

April 26, 2026 Leave a Comment

26 Apr
Embossing Powder Two Ways Split View. Closeup left of stamped and colored flower with copper embossing powder highlights. Closeup right of diecut circle with hello greeting and copper embossing hugging the edges of the circle.

Embossing Powder Techniques are so magical. Do you remember the first time you inked and stamped with Versamark ink, sprinkled embossing powder and watched it melt, slowly revealing a gorgeous shiny stamped image? But what if you want just a touch of shimmer, not a whole image? Learn two ways to add embossing powder exactly where you want it, rather than an entire stamped image in this tutorial. Let’s get started!

Embossing Powder Technique — Ballpoint Pen

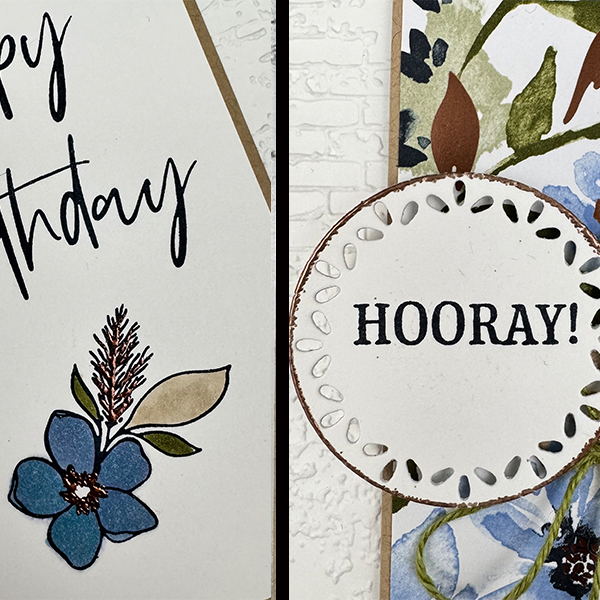
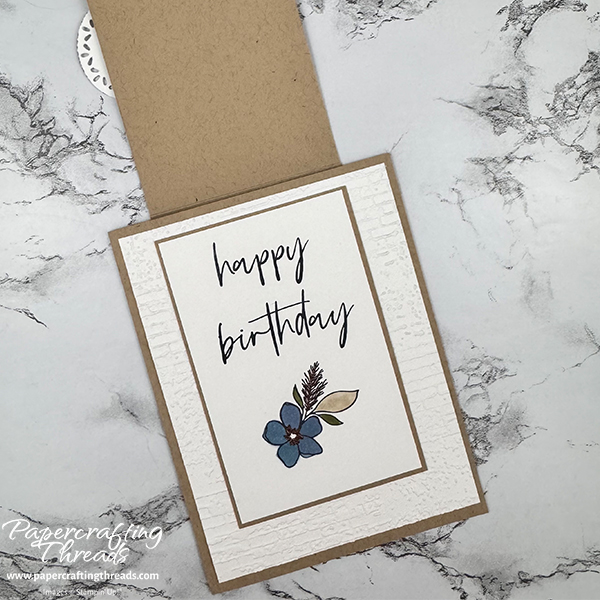
I stamped the large ‘happy birthday’ image from the Fabulous Sayings stamp set in Secret Sea ink by inking one word at a time and stacking the images to fit on my smallest piece of Basic White cardstock. Then I stamped the floral image from Delicate Wishes and colored it in with Stampin’ Blends. I zapped the colored images with a heat tool for 5-6 seconds to make sure it was dry.

Next, using a black ballpoint pen, I went over the center of the flower and the sprig of ‘wheat’ with the tip of a black, juicy ballpoint pen. (Note that ink color and pen brand don’t matter!) Working quickly, I poured copper embossing powder over the image, tapped off any excess and heat set.

Embossing Powder Technique with a Ballpoint Pen closeup. Image shows a stamped 'happy birthday' greeting and a floral image with leaves and a wheat stem. The center of the flower and the wheat stalk are highlighted with copper embossing powder.

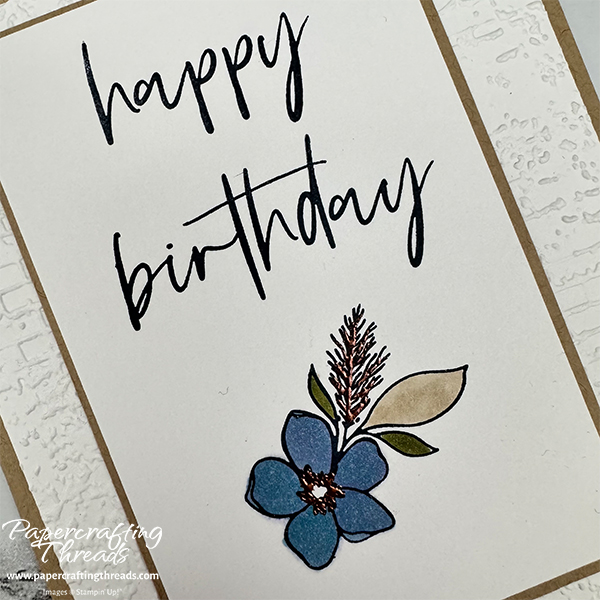
The result is highlights of copper embossing powder, perfect for mimicking the copper foil on the designer series patterned paper used on the front of the card.

If you found this technique helpful, consider a contribution to my coffee fund ☕️ Coffee → Creativity → Content → More Coffee (help fuel the cycle!)

Technique Two — Borderline

To add a shiny border of embossing powder, I stamped ‘HOORAY’ in Secret Sea on a scrap of Basic White and die cut it with the 1⅝” circle from the Spotlight on Nature die set. Then, holding the circle in the middle with my fingertips, I rolled the edges of the circle directly on a Versamark ink pad. Next I sprinkled copper embossing over the circle and used a dry paintbrush to remove any excess powder in the middle where my fingers had been. And then heat set.

Die cut white circle with a greeting and edge of circle is ringed with copper embossing powder.

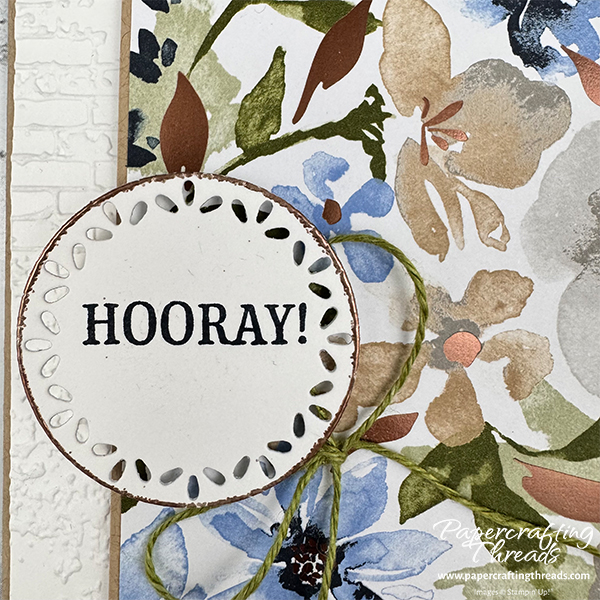
Tada! A pretty ring of copper adds just the right amount of shine to bring a little more attention to the greeting without overwhelming the delicate leafy edge.

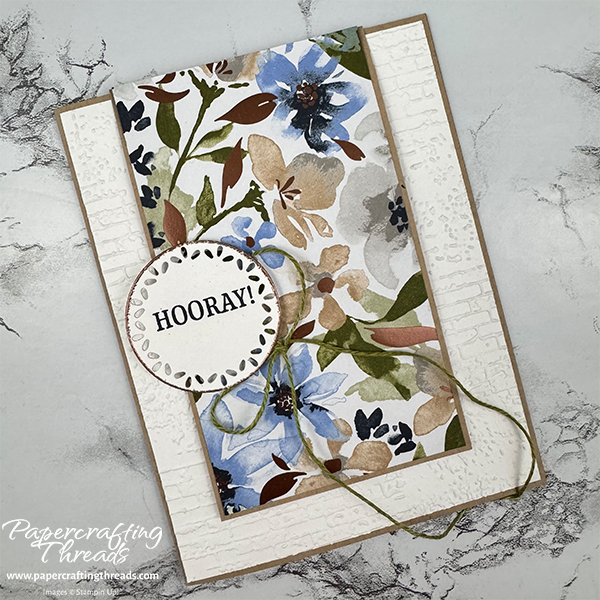
Here’s the full card so you can see how these little touches pull the design together with the copper foil on the Delicate Dreams patterned paper.

Front of a Hinged Fun Fold Card showcasing the Embossing Powder Technique Borderline. A thin edging of copper embossing powder surrounds a die cut circle with a greeting. Hints of coper foil leaves highlight a floral patterned paper with blues, greens and tans.

Flip the hinged front up to reveal a second layer.

Hidden center message revealed when the front flap is lifted on the card. Tan base with white embossed brick layer and a happy birthday sentiment. A floral image in blue, tan and green is highlighted with copper embossing accents.

And the third reveal of the inside of the card where you can write a personal message.

Front hinge flap opened, then the right side flap opened, to reveal inside of card. White liner with green and deep blue wheat stalks stamped in lower right corner.

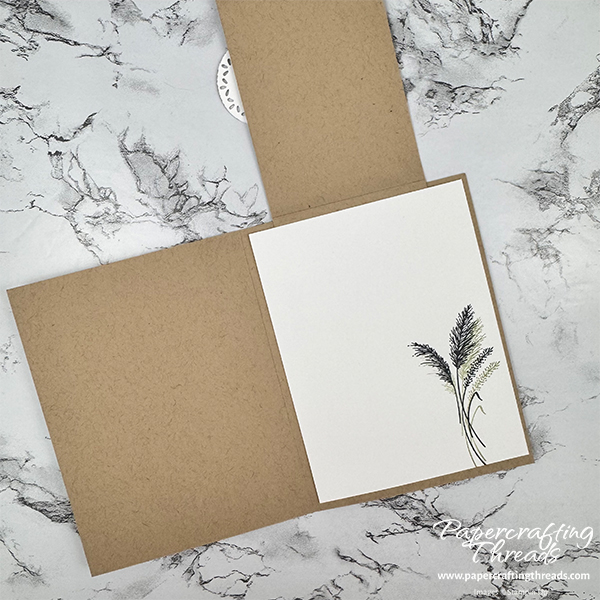
I could have used the ballpoint pen again with the wheat stalks on the inside liner as well. It would pull the shimmer through even further.

So what do you think of these Embossing Powder Techniques? The ballpoint pen is my favorite. There’s something in the ink that reacts the same way with embossing powder as Versamark does. Give it a try the next time you want some glimmer on your project.

Share:

Leave a Comment
see more related posts: Cardmaking· Fun Fold· Product Tips & Tricks

Previous Post: « Palette Threads is Here

Reader Interactions

Leave a Reply Cancel reply

Your email address will not be published. Required fields are marked *

Primary Sidebar

Peri Beal

Cheesehead. Avid reader. Antique hunter.

Shop Online

Shop with me and get a FREE PDF tutorial bundle delivered to your inbox AND a handmade card via snail mail

Search

Papercrafting Threads

Lakeside Retreat April 2026 Paper Pumpkin Sneak Peek
Gift Certificates
  • Email
  • Facebook
  • Instagram
  • Pinterest
  • YouTube
Retired Product
Privacy Policy

The Fine Print

Just so you know... This is a personal website and I am responsible for its content. Stampin' Up!® does not endorse the use of or contents of the classes, services, or non-Stampin' Up! products I offer.

Footer

  • Calendar of Events
  • 3D Projects
  • Cardmaking
  • Fun Fold
  • Product Tips & Tricks
  • Projects
  • Techniques
  • Of Interest
  • Catalogs
  • Join the Fun
  • Contact Me
  • Email
  • Facebook
  • Instagram
  • Pinterest
  • YouTube

PAPERCRAFTING THREADS

Copyright © 2026 · Refined theme customized by Catherine Carroll

Privacy Policy · Affiliate Disclosure