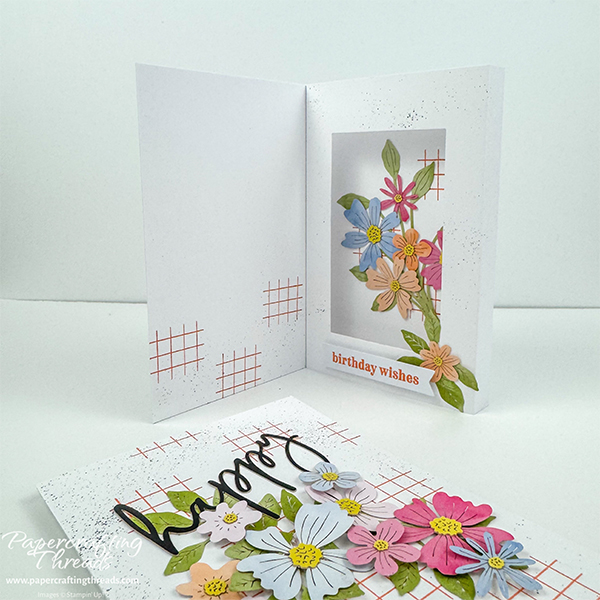
I’ve got a special card tutorial today, with the Hidden Shadowbox Fun Fold Card alternative. I used part of a 12×12 sheet of White Willow cardstock for the card base. All other elements (and stamped images) are from the lovely Hooray for Birthdays Paper Pumpkin Kit. Stunning watercolored floral die cuts, a crosshatch stamp image and stickers (yes, the large ‘happy’ and the floral centers are actually thick stickers) bring it all together. So let’s get started!
cutting & scoring guide
| Paper Dimensions | Score Short Side | Score Long Side | ||||
| 5½” x 10½” Basic White cardstock base | ½”, 4″, 4½” & 8″ | |||||
| 4″ x 5½” Basic White cardstock (cut 2) | ||||||
| All other elements are from the June 2026 Paper Pumpkin Kit |
step by step instructions
I chose White Willow cardstock for my card base because it’s a bit brighter white than the Basic White cardstock. It’s surprising how much of a difference it makes in how the watercolored flowers pop.
Start by folding the card base on the scorelines, with all folds as mountain folds. Position the base on your work surface with the narrow flap on the right and the 2½” flap on the left. Wrap inwards from the right, creating the shadowbox. Fold the base flat and burnish the fold on the right side so the base lays flat. Then burnish all of the other folds.
Cut the rectangle from the front of the shadow box with a die. I used the fourth largest die from the retired Textured Notes set. Feel free to use any shape you have. And if you don’t have any dies, cut a shape with an Exacto blade.
Stamping
Ink up the crosshatch image from the Hooray for Birthdays Paper Pumpkin Kit with Timid Tiger ink. Stamp three times on the inner back portion of the shadowbox. Ink and stamp the same image three times randomly across the bottom of one of the 4″ x 5½” pieces of White Willow. And lastly, ink and stamp that image multiple times across the front of the remaining piece of White Willow.
Ink and stamp the sentiment in Timid Tiger ink on one of the narrow banners from the kit.
Use a Dark Basic Black Stampin’ Blend and a bone folder to add ink splatters to the individual pieces. Hold the brush tip of the blend at a 45 degree angle above the paper and tap the barrel with the bone folder until desired amount of splatter.
Decorating the Hidden ShadowBox Fun Fold Card
Adhere various sizes of the yellow floral centers from the kit and adhere to the chosen floral die cuts. Add glue dots to some of the leaf backs from the large foliage spray and adhere to the back of the shadowbox. Use more glue dots on the back centers of the flowers and adhere the flowers to the foliage. Trim off a bit from a small foliage sprays. Then adhere with a glue dot to the lower right corner of the frame. Adhere a flower over the top. Pop up the sentiment with dimensionals and press to adhere in the center bottom of the frame.
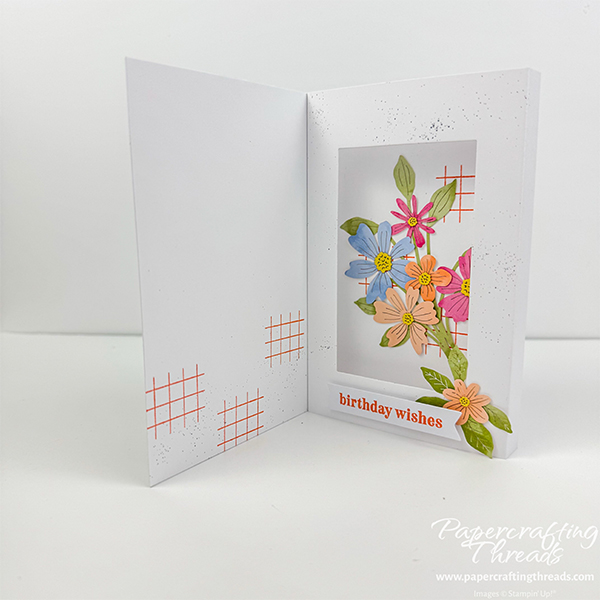
Add Tear & Tape from the kit to the inside of the 2½” strip that’s positioned on the left. Line up the White Willow piece with the three crosshatches with the top, bottom and left edges of the card base and the first scoreline. Press to adhere. Add Tear & Tape to the narrow flap and press to adhere over the right edge of the piece just adhered. The card base is now folded closed. Adhere the remaining piece of White Willow on the front of the card front.
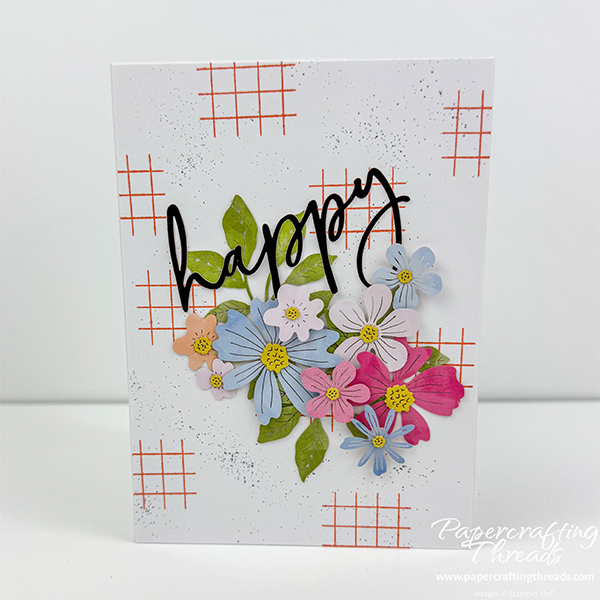
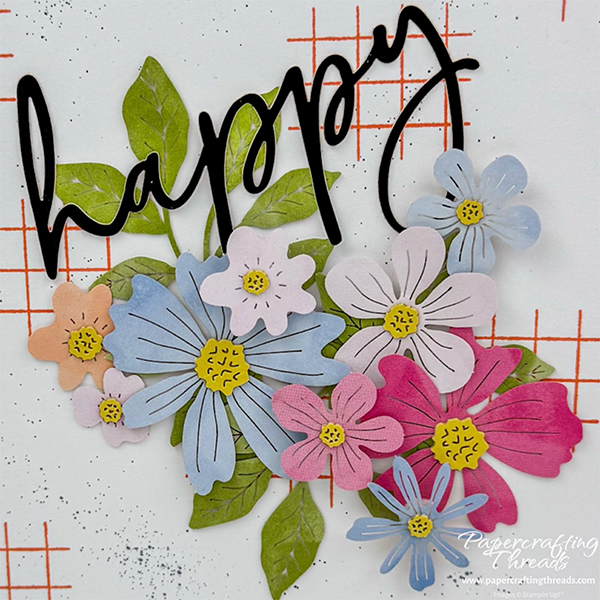
Again use glue dots on the backs of some of the leaves from two small sprays and position on the front of the card. Add floral centers to the desired blooms. Use a combination of glue dots and dimensionals on the center backs of the flowers and adhere to front.
Carefully peel the word ‘happy’ from the sticker sheet and nestle it over the leaves and amongst the flowers at the top.
If you found this tutorial helpful, consider a contribution to my coffee fund ☕️ Coffee → Creativity → Content → More Coffee (help fuel the cycle!)
Wrap Up
What do you think of my Hidden Shadowbox Fun Fold Card alternative? Just another way to get more mileage from the contents of a kit. And with all of the decorative pieces pre-cut, it really speeds up card making. I highly recommend the Paper Pumpkin Kits. Satisfaction is guaranteed and it’s fun to get a box in the mail each month with a surprise. (Though you can see a sneak peek of the general theme each month right here on the sidebar of my website.) Subscribe today for next month’s Paper Pumpkin kit!
And I posted a video version of this fun fold alternative tutorial over on my YouTube channel. Head on over there and hit the notification bell and subscribe to my channel.
Leave a Reply