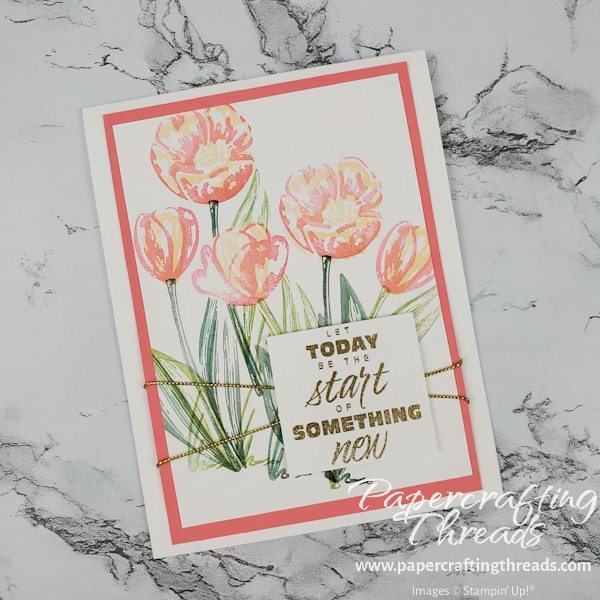
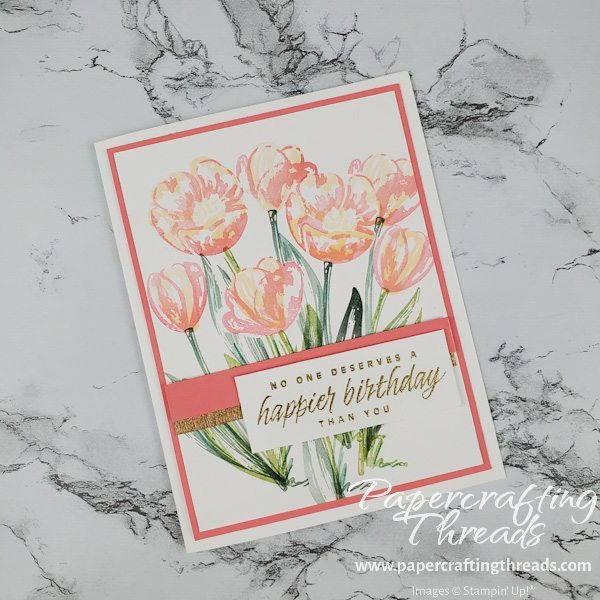
Add pizzazz to simple cards with no diecutting, no fancy tools, just a sheet of plain copy paper! My tutorial on how to do the Masking Technique will show you how easy it is to add depth and interest by stamping the same image multiple times, but changing the perspective of where it it. Read on!
In my sample card above, I started by stamping four of the tulip flower heads that are in the foreground first. Next, I stamped multiple flower heads, stems and leaves on basic plain white copy paper, and cut them out with just my snips. PRO TIP: Cut just inside the outer most edge. And no need to be precise.
Place copy paper flower heads over the stamped flower heads on the card front. Stamp more flower heads and remove the mask(s). The just-stamped flower heads appear behind the initial flower heads! Stamp stems and leaves on the front flowers. Add masks and stamp stems and leaves for the background flowers. Before long you’ll have an entire field of pretty tulips. Check out my Instagram reel for a mini-movie of the process. And it’s not a big deal if you mess up and forget to mask something. Just cover it with an embellishment and no one will be the wiser.
Another pro tip:
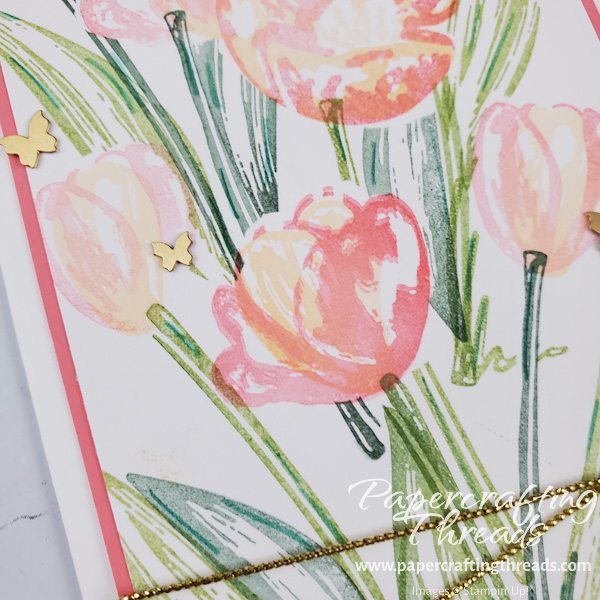
Add depth and interest to the green leaves and stems by freehand sketching with a blue watercolor pencil. I added streaks of Bermuda Bay to my greenery. Look at how that little touch really elevates the whole card.
Like my little tutorial on how to do the masking technique? Sign up for my newsletter and get more tips and inspiration like this right in your inbox! I send the newsletter out at least once a month, with exclusive projects seen nowhere else. Sign up today 🙂
Supplies Used for Masking technique tulip cards
Flowering Tulips stamp set, Basic White & Flirty Flamingo cardstock, Pale Papaya & Flirty Flamingo ink, Pear Pizzazz & Evening Evergreen ink, Brushed Brass Butterflies, Gold Cording, Watercolor Pencils


Leave a Reply