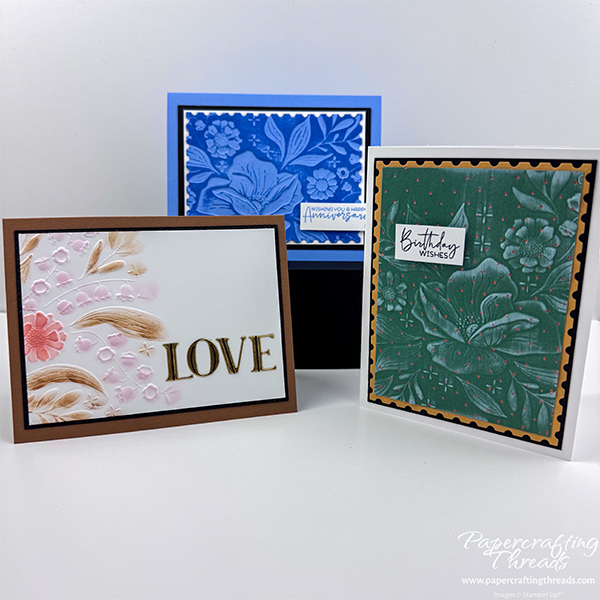
I’ve got three Embossing Folder techniques to share so you can get more out of your supplies. While just embossing cardstock is a wow, these easy techniques change it up a little bit. I’m using the magnificent Floral Spray 3D embossing folder for my projects, but these techniques can be applied to any folder. Let’s get started!
cutting & scoring guide
| Paper Dimensions | Score Short Side | Score Long Side | ||||
| Card 1 Pine | ||||||
| 5½” x 8½” Basic White cardstock base | 4¼” | |||||
| 3½” x 4¾” Peaceful Pine cardstock for embossing | ||||||
| 3¾” x 5″ Golden Glow cardstock (or slightly larger if diecutting) | ||||||
| 3⅞” x 5⅛” Basic Black cardstock mat | ||||||
| Scrap of Basic White for sentiment | ||||||
| Card 2 Pecan | ||||||
| 5½” x 8½” Pecan Pie cardstock base | 4¼” | |||||
| 3⅝” x 5″ Basic White Cardstock for embossing | ||||||
| 3¾” x 5⅛” Basic Black mat | ||||||
| Scrap of Basic Black for foiling & diecutting Luxe letters | ||||||
| Card 3 Hydrangea | ||||||
| 5½” x 8½” Hydrangea Hue cardstock base | 4¼” | |||||
| 3⅝” x 4⅞” Hydrangea Hue for embossing and diecutting | ||||||
| 3⅜” x 4⅝” Basic White mat | ||||||
| 3⅝” x 4⅞ Basic Black mat | ||||||
| Scrap of Basic White for sentiment |
A little bit about embossing folders. There are different types of embossing folders, ‘regular’ and 3D. The difference is that 3D embossing folders emboss with multiple levels, offering more dimension. Regular folders raise the design across the same height, or level. These techniques will work with both types of folders, but may look a little different.
Card #1 Foiling, Embossing, Pigment Ink Technique
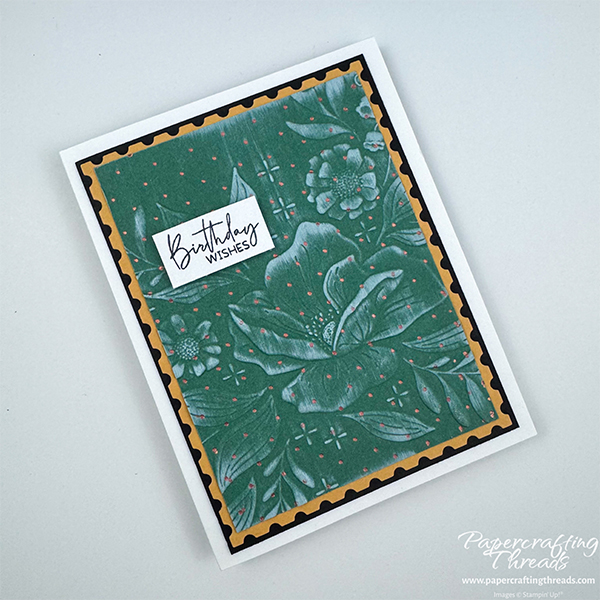
This first embossing folder technique uses three different techniques combined together! Start by hot foiling the Peaceful Pine layer with the Swiss Dots Hot Foil die and copper foil. Then open the Floral Spray 3D embossing folder and place the foiled cardstock dot side up on the inside back (the side without the Stampin’ Up! logo). Close the folder and run through the Cut & Emboss machine.
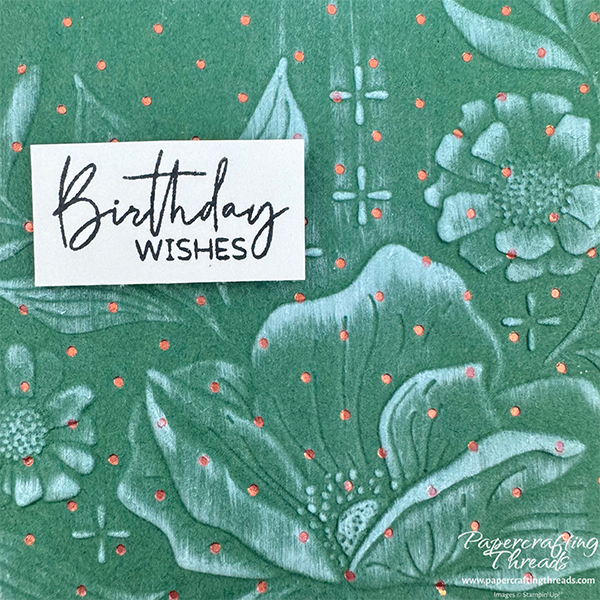
Lightly drag a white craft (or pigment) ink pad over the raised floral images. Layer on a Perennial Postage die cut piece of Golden Glow cardstock. Add a Basic Black mat and adhere all to an A2 Basic White card base. Finish off with a sentiment stamped in black ink and popped up on Dimensionals.
Card #2 Partial Embossing & Sponge Dauber Technique
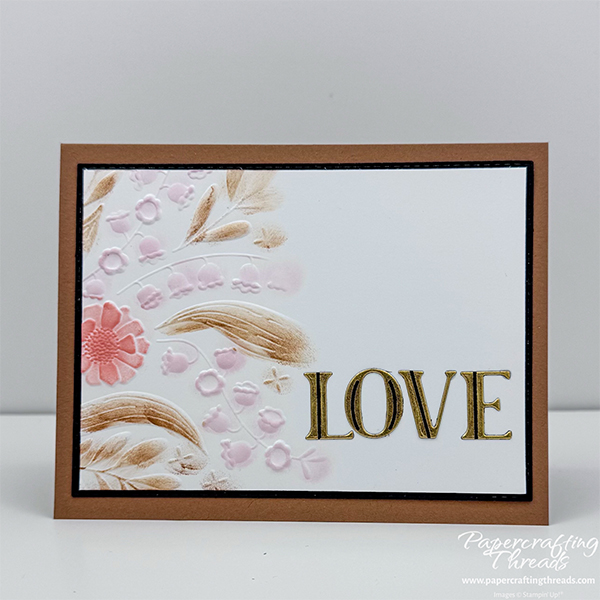
Insert a piece of Basic White cardstock at an angle and extending beyond the bottom of the Floral Spray embossing folder. The idea is to create the angle — but still have the cardstock fit into the Cut & Emboss machine — for partial embossing. Run through the machine.
Use sponge daubers to color the raised elements. I used Pecan Pie for the leaves, Crisp Cantaloupe for the large floral and Barely Blush for the bell-like flowers. The trick is to use the ‘edge’ of the dauber, holding at an angle, rather than the full surface of the sponge for the smallest florals.
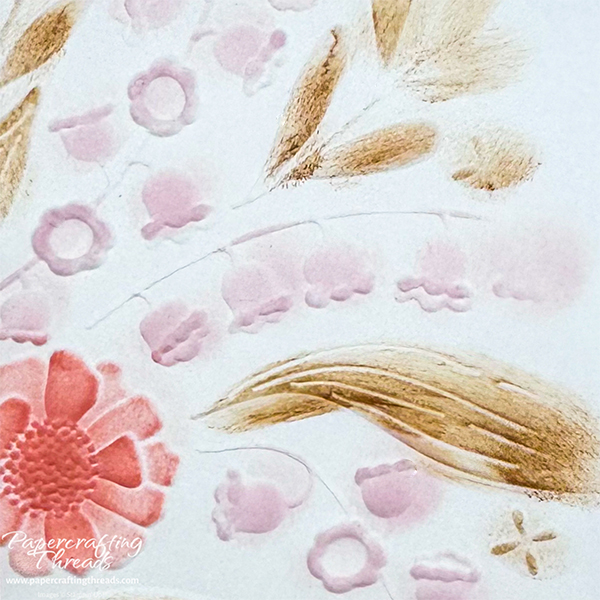
Layer the Basic White inked piece onto a Basic Black mat and mount on a Pecan Pie card base.
Foil the letters with the Luxe Alphabet Hot Foil die set on Basic Black cardstock with gold foil. Use a reverse tweezers to pick up the individual letters and add liquid glue to the back. Then arrange on the lower right corner of the card front.
Card #3 Inking the DeBossed Technique
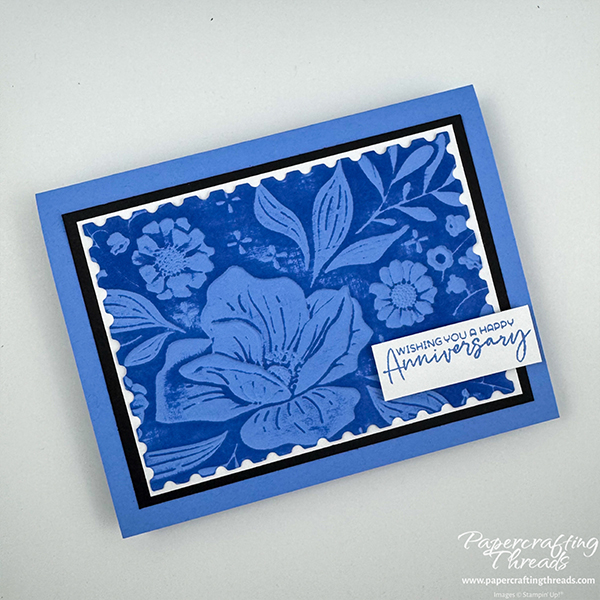
Die cut a piece of Hydrangea Hue cardstock with the second largest Perennial Postage frame. Emboss a section of the Floral Spray embossing folder to include the largest floral plus two of the smaller flower images.
Drag a Hydrangea Hue ink pad over the surface on the debossed (indented) side, changing the directions and adding multiple layers of ink.
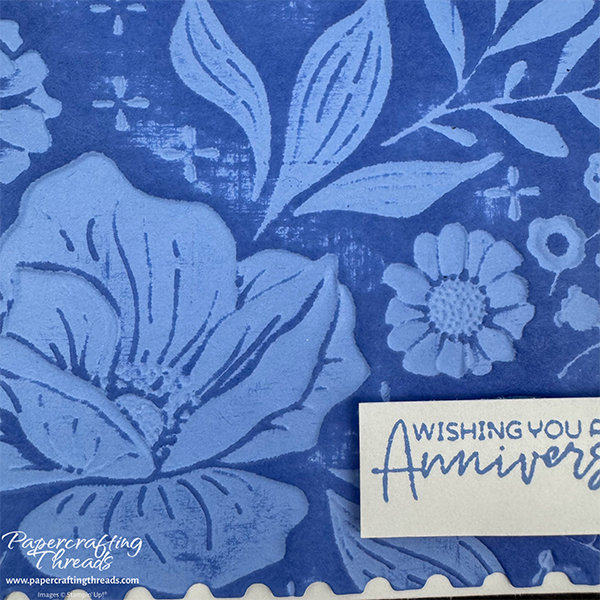
Mount on a Basic White mat, then on Basic Black, and finally on a Hydrangea Hue card base. Stamp a sentiment in Hydrangea Hue ink and pop up on Dimensionals, Adhere on a lower side as to not cover the large focal floral.
If you are finding this tutorial helpful, consider a contribution to my coffee fund ☕️ Coffee → Creativity → Content → More Coffee (help fuel the cycle!)
And of course, I uploaded a video tutorial over on my YouTube channel if you’d like to check that out.
And BONUS! I even have a few samples of other embossing folder techniques for even more possibilities. Not all of the samples have been made into cards — yet. I like to keep these for when I need a quick card and I can finish customizing it to the occasion.
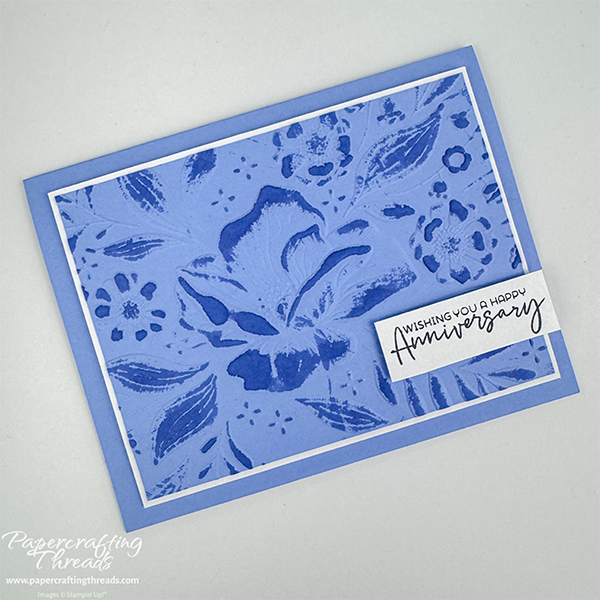
This one has the design embossed or raised, and I pulled the Hydrangea Hue ink pad across it multiple times. This is the opposite of Card #3.
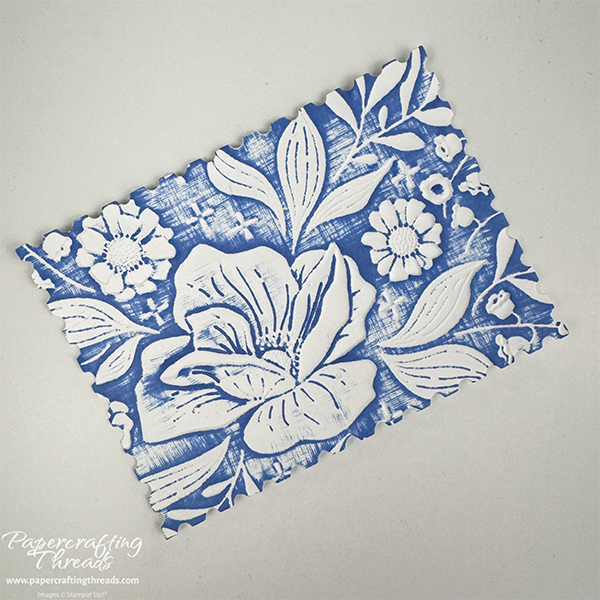
This version is the same as Card #3, except I used Basic White cardstock and swiped once with the Hydrangea Hue ink. Seeing all that texture reminds me of old worn denim blue jeans.
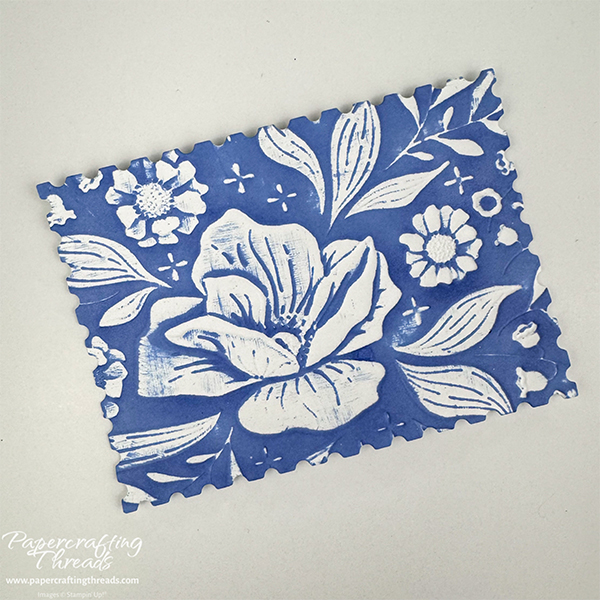
And this is a similar panel, but this time I swiped multiple times with the ink pad.
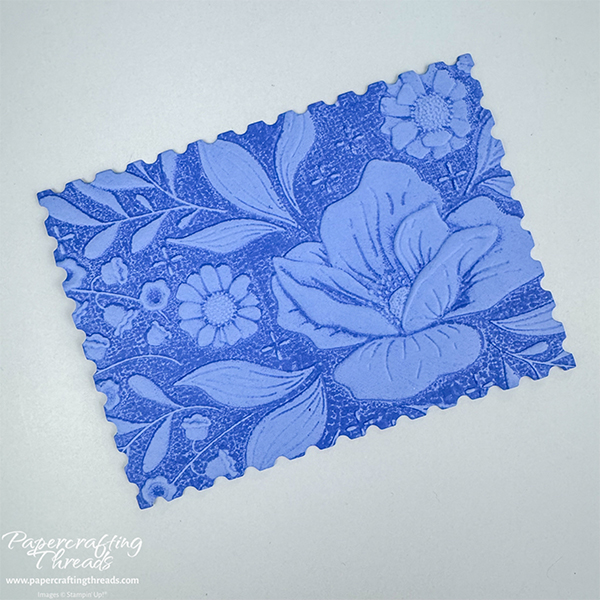
And last but not least, I inked the inside of the Floral Spray folder on the side with the Stampin’ Up! logo, then placed my cardstock on the opposite panel, closed the folder and ran it through the machine. The ink pad was really juicy so the ink bubbled a little bit. I think I would like it better with less ink. That’ll have to wait for another day!
Leave a Reply