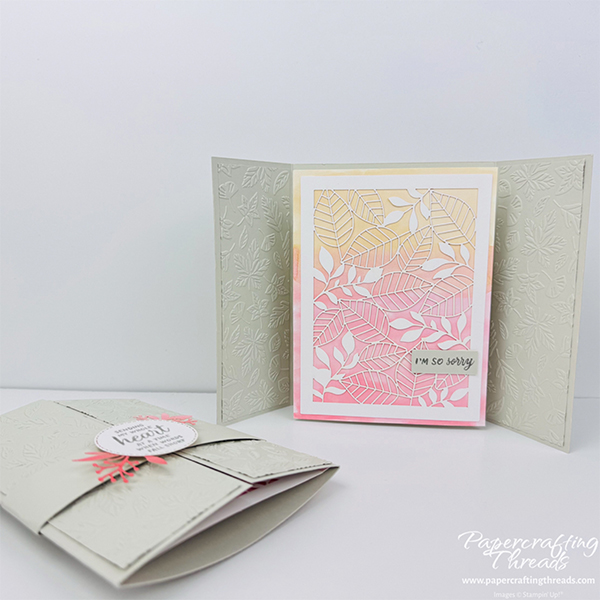
Craft this quick and easy Pop Out Gatefold Card with touches of embossing, a leafy diecut panel and a watercolor background with my tutorial. Basic Beige cardstock is anything but boring with those gorgeous leaves. A hint of the color to come is on the outer belly band. Then slide the band off and watch the inner panel pop out, suspended above the base. Let’s get started!
cutting & scoring guide
| Paper Dimensions | Score Short Side | Score Long Side | ||||
| 5½” x 8½” Basic Beige cardstock base | each end at 2⅛” | |||||
| 1⅛” x 8″ Basic White cardstock mechanism | each end at 1¼”, 2″, & 2¾” | |||||
| 4″ x 5¼” from linen-like card base in Paper Pumpkin Kit | ||||||
| 1″ x 10″ Basic Beige cardstock belly band | ||||||
| 1⅞” x 5¼” Basic Beige cardstock for embossing | ||||||
| 3½” x 4¾” Basic White liner | ||||||
| ⅞” x 4¾” Petal Pink cardstock | ||||||
| Scrap of Basic Beige for sentiment |
step by step instructions
Start with one of the linen-like card bases from the August 2026 Kindred Greetings Paper Pumpkin kit, and cut it down as noted in the table above. Add Golden Glow and Calypso Coral inks to a clean acrylic block. Use a water brush and sweep Golden Glow on the top half of the linen-like card. Then add Calypso Coral to the lower section, blending away any harsh lines where the two colors meet. Dry with a heat tool.
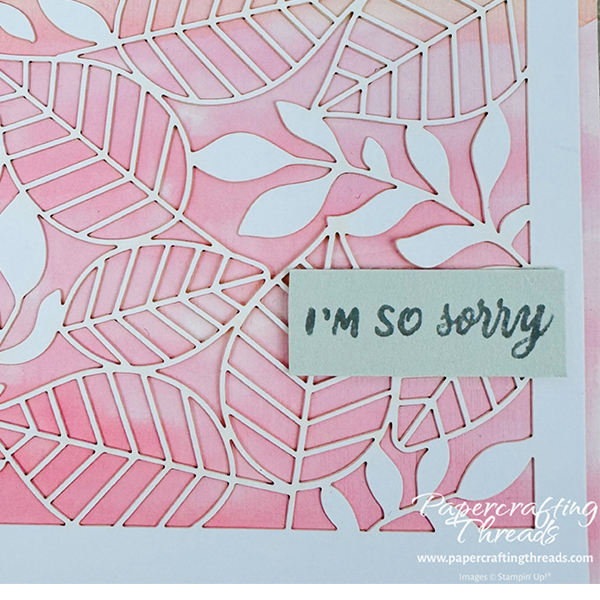
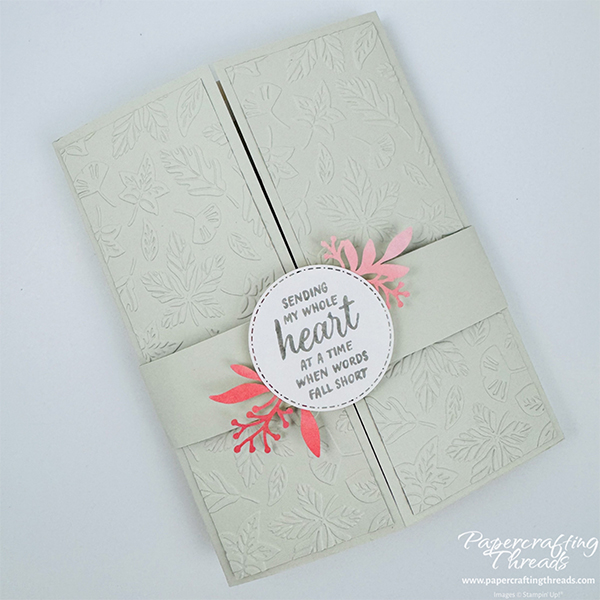
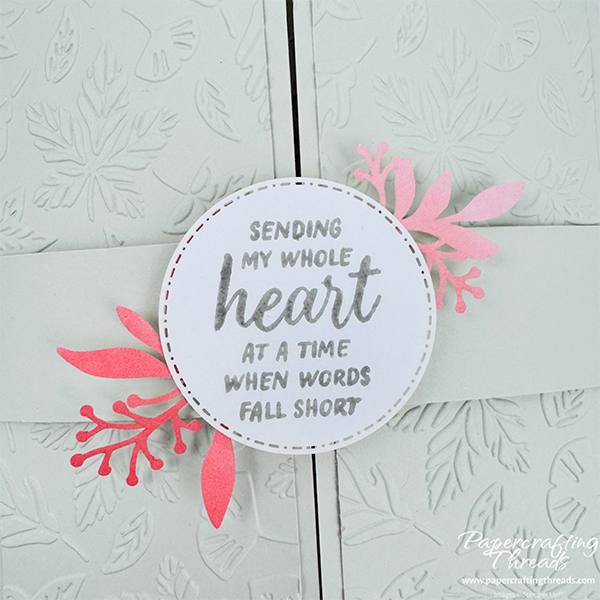
Stamp the sentiment “I’m so sorry”, also from the kit, in Gray Granite ink on a narrow scrap of Basic Beige cardstock. Stamp the front sentiment in Gray Granite on one of the circles from the kit. Adhere the colored foliage element from the kit behind the circle. Stamp the leaf image randomly on the Petal Pink strip with Petal Pink ink.
Adhere the Petal Pink strip to the left side of the Basic White liner, leaving an ⅛” gap along the left side.
Emboss each of the four panels of Basic Beige cardstock with the leaf folder from the Seasonal Cheer embossing folder set.
Assemble the Pop Out Gatefold card
Fold the card base on the scorelines, creating the gatefold. Adhere the four embossed panels to the outer and inner flaps. Adhere the white liner panel to the outer back panel of the card base.
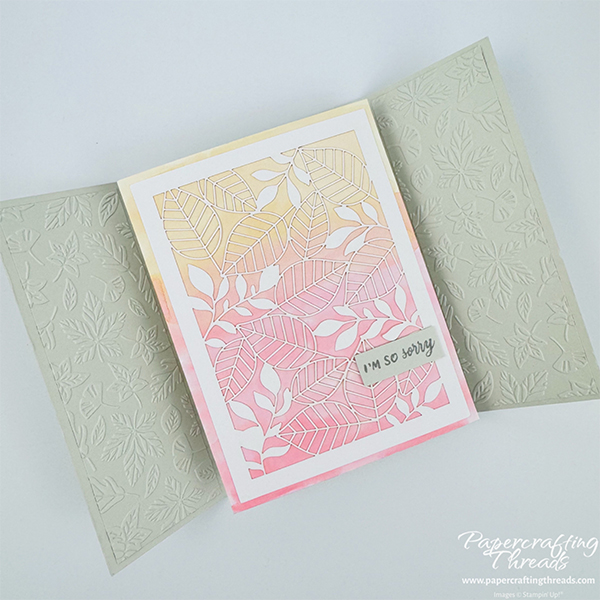
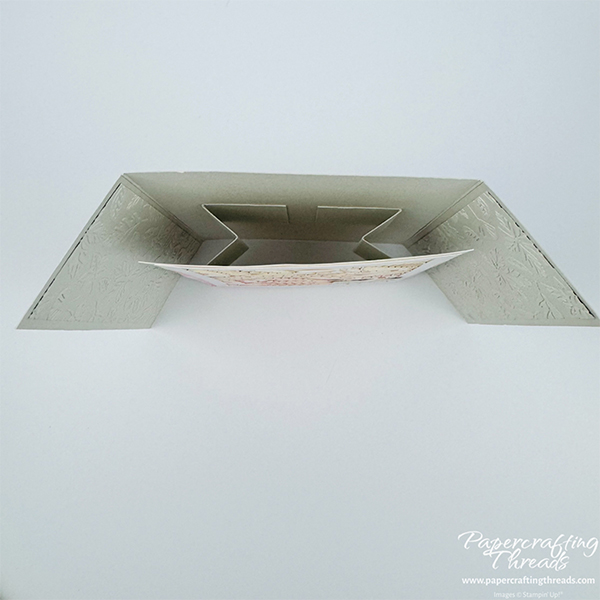
Accordion fold the mechanism on each end — mountain fold, valley fold, mountain fold. Add liquid glue to the outer flaps, flip over and adhere those flaps to the center of the inside of the card. Adhere the leafy diecut panel from the kit, with the white side facing up, to the watercolored panel. Then add glue to the top of the mechanism, and center the panel, pressing to adhere. Finish off the inside by adhering the small sentiment with glue dots to the leafy watercolored panel.
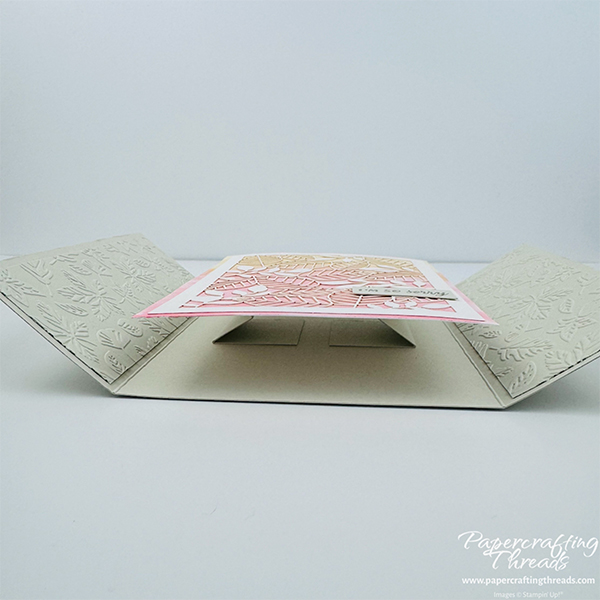
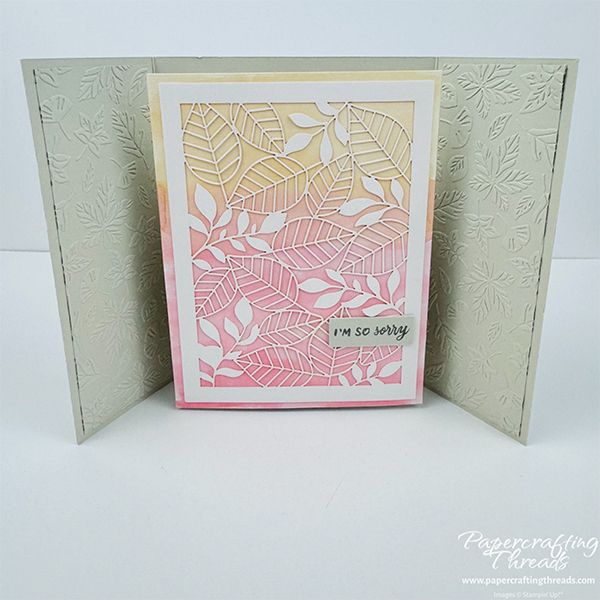
Close the gatefold card. Wrap the belly band around the card, allowing a little room so the band can slide. Overlap the ends and adhere with glue. Add glue dots over the seam and pop the circle sentiment up.
I love how that center just floats above the surface! And you’re not limited to filling the entire center inner panel. Imagine this with a smaller focal point, and more ‘white space’. It’d be quite easy to make the mechanism smaller, just change the end increments to say, ½”, instead of ¾”.
If you love this card, check out my Butterfly Effect Fun Fold card. It’s a little different take with a floating center.
And I’ve made a how-to video for the Pop Out Gatefold Card too! Check it out below.
If you find my tutorials helpful, consider a contribution to my coffee fund ☕️ Coffee → Creativity → Content → More Coffee (help fuel the cycle!)

Leave a Reply