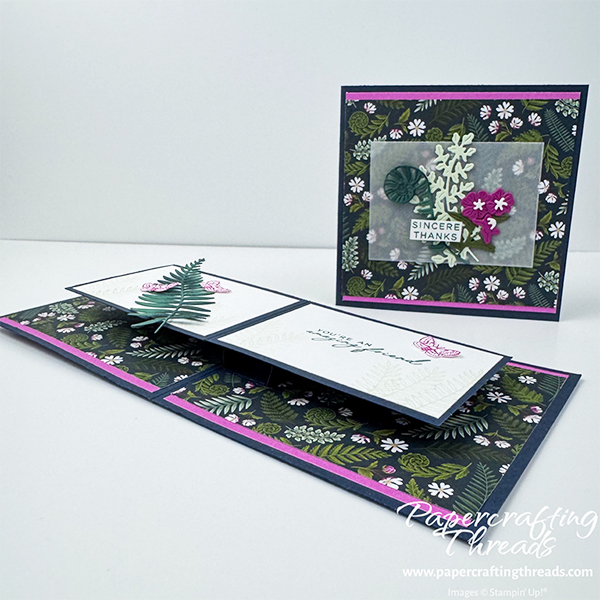
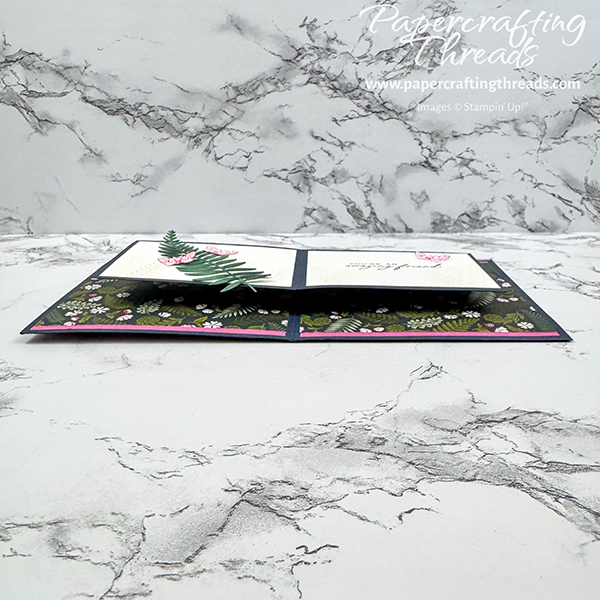
Follow my easy tutorial to make your own Butterfly Effect Fun Fold Card. The front looks like an ordinary, pretty card. But when opened, a floating-in-air mini card is revealed, reminding me of butterfly wings. The mechanisms are super simple, so don’t be intimidated. And no special tools needed (though I did use lots of dies for decorating. Let’s get started!
cutting & scoring guide
| Paper Dimensions | Score Short Side | Score Long Side | ||||
| 4¼” x 8½” Secret Sea cardstock base | 4¼” | |||||
| 2½” x 7″ Secret Sea cardstock floating element | 3½” | |||||
| 1″ x 3¼” Secret Sea mechanism | ¾”, 1¼”, 2″ & 2½” | |||||
| 4″ wide x 3¾” tall (cut 3), plus 1″ x ¾ strip Fern & Flora patterned paper | ||||||
| 3” x 4″ Two-Tone Petunia Pop | ||||||
| 3¼” x 2¼” (cut 2) Basic White cardstock floating element | ||||||
| 4″ x 4″ Basic White cardstock liner | ||||||
| 3″ x 2¼” Vellum | ||||||
| Scraps of Peaceful Pine, Old Olive, Soft Sea Foam, Berry Burst, & Basic White for diecutting |
step by step instructions
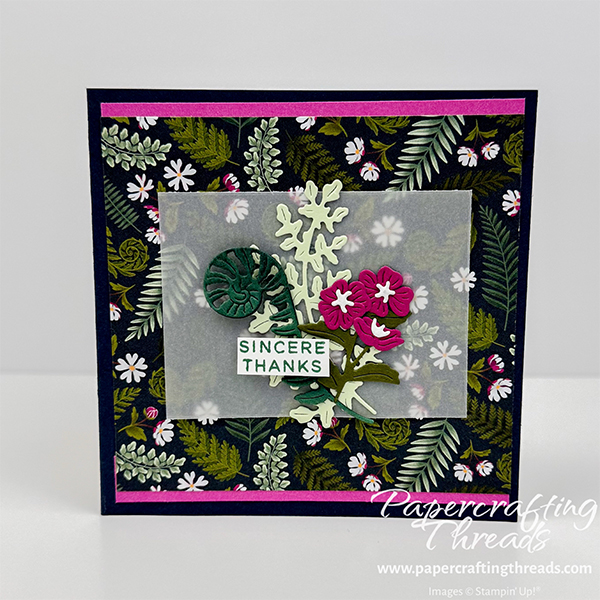
I used the stunning and moody Fern & Flora stamp set, dies and matching patterned paper, Moonlit Flora. Cut cardstock and DSP as described in the chart. Then, for the two-tone, cut the piece into six ½” x 4″ strips (if Petunia Pop Two-Tone is out of stock in my online store, substitute Berry Burst). For the mechanism, cut the 1″ strip in half lengthwise, creating two ½” x 3¼” strips.
To create the mechanisms, fold and burnish the two remaining strips of Secret Sea on the score lines. Add liquid glue to the top of each tab, and fold the opposite end over on top, pressing until adhered, forming a rectangular ‘cube’. Repeat with the other strip. Set aside to dry thoroughly.
Create three 4″ squares out of the 3¾” tall DSP pieces by adhering a two-tone strip to the top and bottom of each DSP piece with liquid glue. NOTE: An easy way to get the spacing even is to use a grid, like the grid on the Stampin’ Up! glass mat, or grid paper. Place a tiny bit of Snail adhesive on the back of each two-tone strip and stick it temporarily on the grid following one of the horizontal lines. Place a second strip four inches away (using the outside edges). Apply glue along the inside edges and then align the DSP spanning the middle, creating a 4″ square. Repeat for the other two pieces.
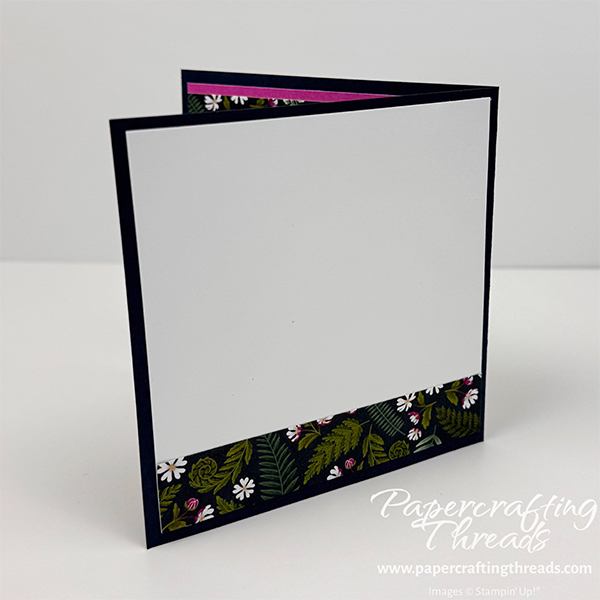
Align Adhere the DSP strip to the bottom of the Basic White square.
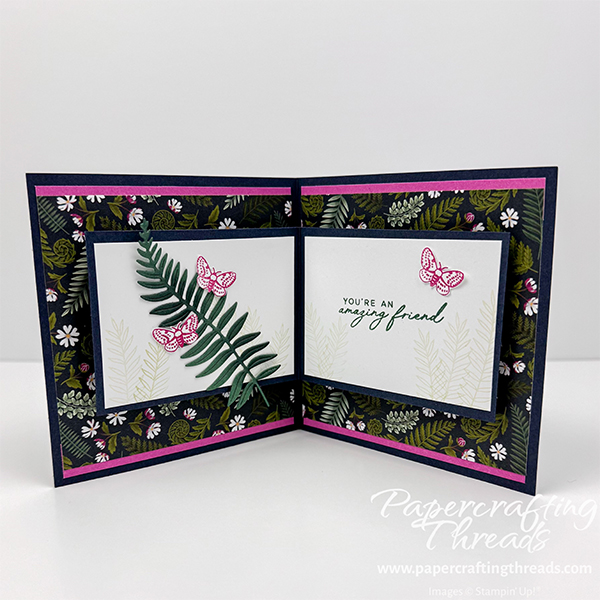
Next, adhere all four squares to the card base (the Basic White goes on the back). Stamp the slender fern leaf in Soft Sea Foam along the bottom edges of the remaining two Basic White pieces. Stamp ‘you’re an amazing friend’ in Peaceful Pine ink on one. Set aside.
Stamping & Diecutting
Stamp three of the small moths in Berry Burst ink on a scrap of Basic White and fussy cut. Stamp ‘Sincere Thanks’ on a scrap of Basic White in Peaceful Pine ink and trim close to the lettering. Set aside.
Die cut a large fern frond and a fiddle head from the scraps of Peaceful Pine. Blend Secret Sea ink randomly on both pieces with a blending brush. Die cut the foliage image from the scrap of Soft Sea Foam, the flowers from Berry Burst, the centers from Basic White and the stems from Old Olive scraps. Glue the floral pieces together.
Adhere the fiddle head, foliage and flower stalk to the piece of vellum (I placed a mini dimensional behind the fiddle head and used liquid glue for everything else). Strategically apply mini glue dots to the back of the vellum and adhere to front of card. Add mini dimensionals to the back of the sentiment and apply to card front.
If you are finding this tutorial helpful, consider a contribution to my coffee fund ☕️ Coffee → Creativity → Content → More Coffee (help fuel the cycle!)
Adding the Butterfly Effect Mechanisms
Returning to the mini card, adhere the two stamped Basic White pieces to the inside of the scored Secret Sea piece. Set aside.
Add liquid glue to the overlap portion of one of the mechanisms. Place glue side down about 1½“ below the top edge and just to the left of the scoreline of the inside card base. Repeat with the other mechanism, placing it 1½“ up from the bottom and to the right of the scoreline. Let glue set a bit.
Add glue to the top of both mechanisms, and carefully place the mini card on top, inserting your pointer fingers inside the mechanisms and using your thumbs to center the mini card. Hold for a bit for glue to set.
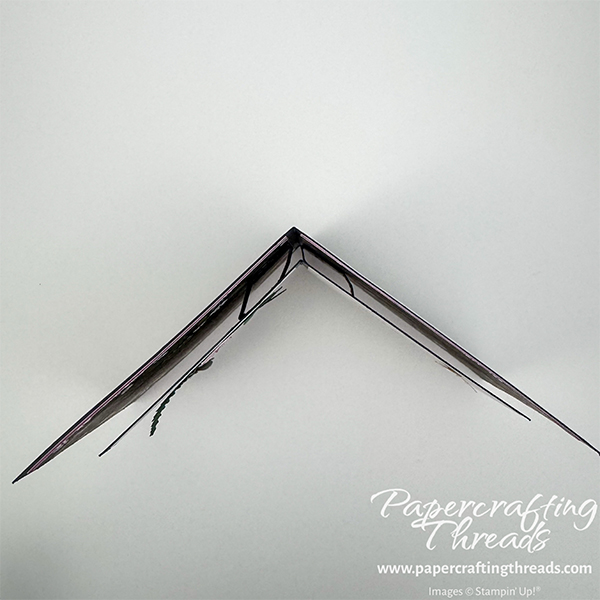
NOTE: If the panels end up sticking due to excess glue, slide an embossing buddy in between the floating panel and the card base. Some of the powder will transfer to the cardstock and resolve the issue.
Adhere the large fern piece to the left white panel with dots of liquid glue. Use mini glue dots to adhere the moths – two on the left panel and one on the right panel.
And of course I had to do a video for this card, so feel free to hop on over to my YouTube channel and check it out. What do you think? Are you going to make a Butterfly Effect Fun Fold for your next card? I hope you do, and feel free to leave a comment and let me know how it goes.

Leave a Reply