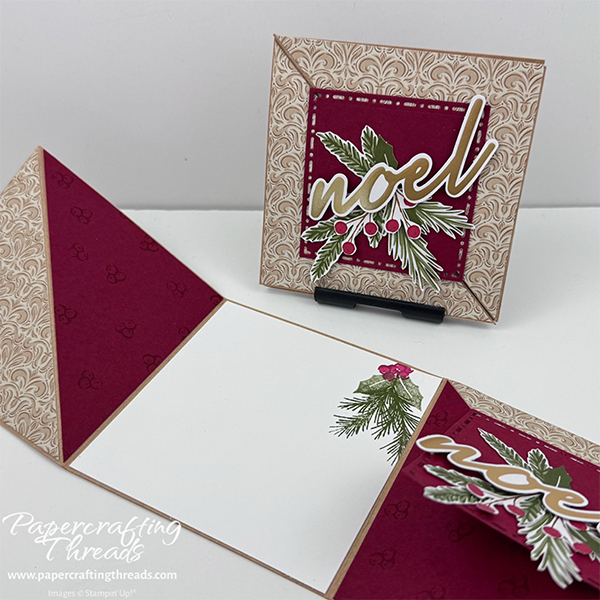
This fun fold starts out as a square with a diagonal split. Open each half and the base magically twists to reveal the inside. Sounds complicated, but it’s not — just some scorelines, folding and diagonal cuts. I’m using the festive Noel Greetings October 2026 Paper Pumpkin kit, along with some Kraft paper and Cherry Cobbler cardstock. Missed out on the kit? Just substitute paper and dies from your stash. Let’s get started!
cutting & scoring guide
| Paper Dimensions | Score Short Side | Score Long Side | ||||
| 4″ x 12″ Kraft paper base | 4″ & 8″ | |||||
| 3⅞” x 3⅞” printed pattern (cut from kit card base) | ||||||
| 3⅞” x 3⅞” Cherry Cobbler cardstock | ||||||
| 3⅞” x 3⅞” Basic White cardstock liner | ||||||
| Scrap of Cherry Cobbler cardstock for decorative-edge square die cut |
step by step instructions
Fold both sides in on the scorelines. Open the base and place it on your work surface in landscape orientation. Note where the 8″ score line meets the bottom edge. Place in trimmer, lining up that point in the track, and swivel the upper right corner into the track. Score the diagonal with the scoring blade.
Make a parallel diagonal scoreline on the opposite end of the card. Position the lower left corner in the track, swivel the top of the 4″ scoreline into the track, and score.
Flip the base over, fold the left side in on the vertical scoreline. Take what is now the lower right corner of this flap and fold up to the corner on the diagonal scoreline.
Fold the right panel in on the vertical scoreline, and pull the top left corner diagonally down to the right lower corner on the diagonal scoreline. Burnish all folds well with a bone folder.
prepping the Paper
Diagonally cut the patterned paper square from corner to corner. Repeat with the large Cherry Cobbler cardstock
PRO TIP: Place the tips lined up in the cutting track of the trimmer. Set the blade down in the middle of the square and cut in both directions. This minimizes any chance of crinkling the points.
Adhere the tan patterned cardstock to the two front triangles. Be sure to place the glue all the way out to the tips of the triangles. Stamp the berry image randomly in Cherry Cobbler ink on the Cherry Cobbler triangles. Adhere these triangles to the inside diagonals.
Decorating the Diagonal Square Card
Stamp two of the pine bough images in Mossy Meadow ink in the upper right corner of the Basic White square. Ink and stamp off two of the holly leaf images. And finally, stamp several of the berry clusters in Cherry Cobbler ink at the top of the spray.
Die cut the scrap of Cherry Cobbler with the 2½” square die from the Tile Garden die set. Fussy cut around the edges of pre-cut images from the kit – one large needled sprig, two small sprigs, and two berry branches.
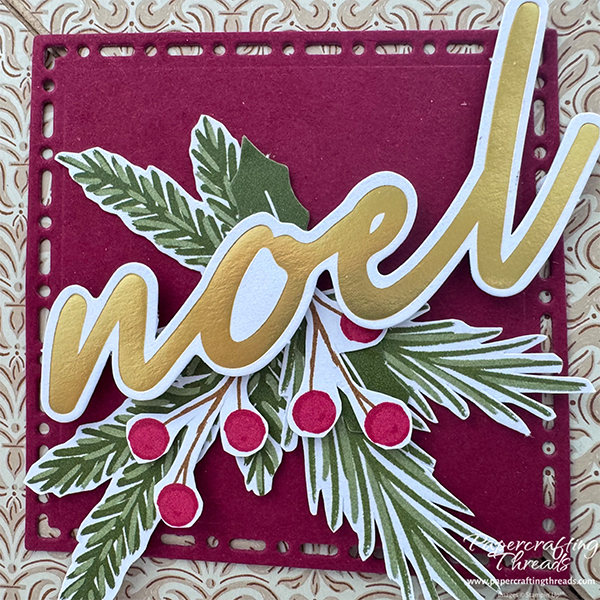
Adhere the Cherry Cobble die cut square to the top half of the diagonal fold with liquid glue. Layer the elements of pine, and holly on the square. Pop the precut gold ‘Noel’ from the kit up on dimensionals and place over the greenery. Add the berries with a touch of liquid glue on the ends and tuck in under the ‘Noel’ greeting.
If you are finding this set of alternative Paper Pumpkin kit tutorials helpful, consider a contribution to my coffee fund ☕️ Coffee → Creativity → Content → More Coffee (help fuel the cycle!)
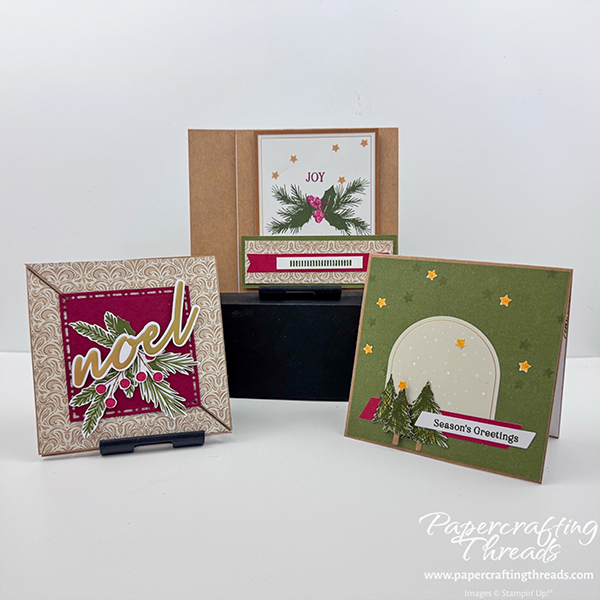
Want more alternatives? Check out my first alternative here. And my third alternative is coming soon!

Leave a Reply