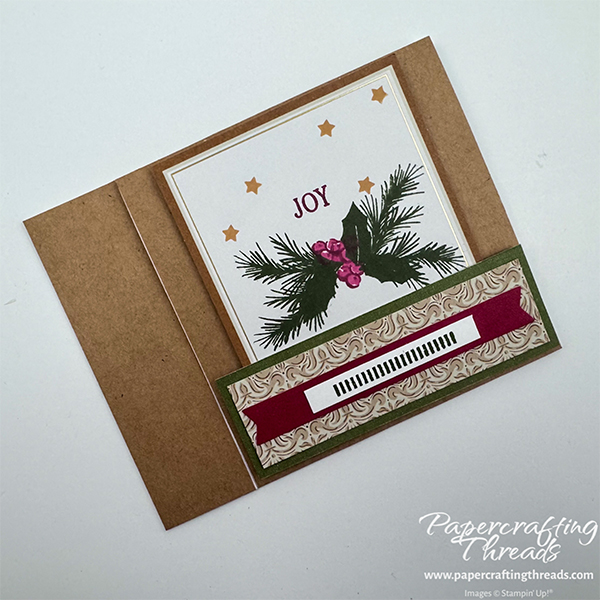
The third card in my series is a Faux Square Card. My other two cards were square and fit in a standard envelope. But if you prefer a card that fills the envelope, this is a way to make a square card larger. Again I used elements from the Noel Greetings Paper Pumpkin Kit with just the addition of Kraft paper and a base of Basic White cardstock. And I used pieces left over from my two previous alternative cards. I usually don’t discard any scraps until I decide I’m finished creating with a kit. So let’s get started!
cutting & scoring guide
| Paper Dimensions | Score Short Side | Score Long Side | ||||
| 5½” x 8½” Garden Green cardstock base | 4¼” | |||||
| 4¼” x 4¼” Kraft paper | ||||||
| 1¼” x 4¼” Kraft paper | ||||||
| 1⅜” x 4⅛” leftover green patterned paper | ||||||
| 1⅛” x 3⅞” leftover decorative swirl patterned paper | ||||||
| Strip of Basic White cardstock for stamping stripes |
step by step instructions
Fold the Basic White card base in half on the scoreline, creating a landscape oriented card with the fold at the top. Next, we’re going to slice from the fold line down to the bottom edge of the card on the left side. Open the card base, and position it on the paper trimmer so a 1¼” section can be cut as noted. On my trimmer, I rotated the base 180 degrees so the front of the card is now located at the top and the left edge is on the right. I used the 1¼” mark on the right side of the trimmer as my guide, and pulled the cutting blade down from the edge to the scoreline.
Apply liquid adhesive to the cut flap and adhere in place to the inside of the card base. Adhere the strip of Kraft paper to the glued flap. Then adhere the Kraft square to the remaining front flap of the card base, lining up all edges.
Trim the rectangular Pecan Pie with gold accent rectangle from the Paper Pumpkin kit to measure 3¼” square.
Stamp multiple pine boughs in Mossy Meadow ink, creating a spray. Stamp three holly leaves in the same ink. Ink up the berries with Cherry Cobbler ink and stamp three times in the center of the spray. Color in the berries with a Light Cherry Cobbler Stampin’ Blend or a Blender Pen with Cherry Cobbler ink. Stamp a scattering of stars in Golden Glow ink above the spray.
Decorating the Faux Square Card Alternative
Pop this square up on dimensionals and position near the top fold and centered from the sides of the card base front. Adhere the decorative swirl strip to the green patterned strip. Then glue one of the red banners from the kit centered on top. Stamp the stripes image in Mossy Meadow ink on a strip of Basic White, trim the ends and adhere on top of the red banner. Apply dimensionals to the bottom half of this decorated strip, add glue to the bottom edge of the square piece already on the card front, and press to adhere the strip.
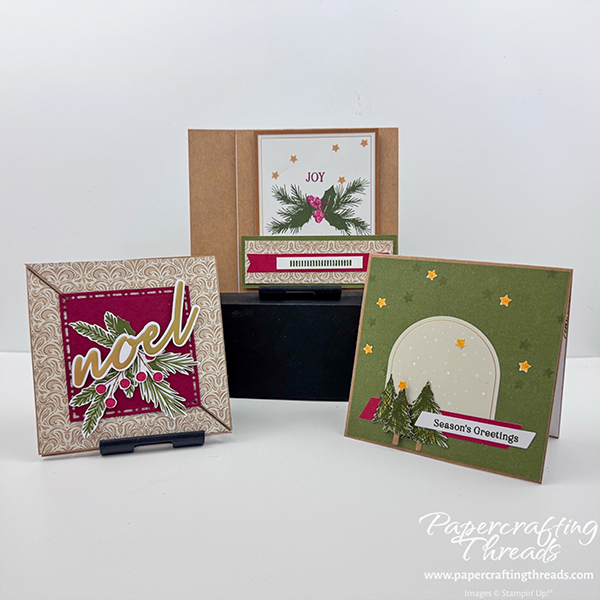
Here are all three of my square-themed alternatives for the Noel Greetings October 2026 Paper Pumpkin Kit. Season’s Greetings tutorial is here, and Diagonal Square fun fold tutorial is here. Which card is your favorite?
If you found this trio of tutorials helpful, consider a contribution to my coffee fund ☕️ Coffee → Creativity → Content → More Coffee (help fuel the cycle!)
And I even uploaded a short video tutorial for this Faux Square Card Alternative to my YouTube channel. Click below to watch.

Leave a Reply