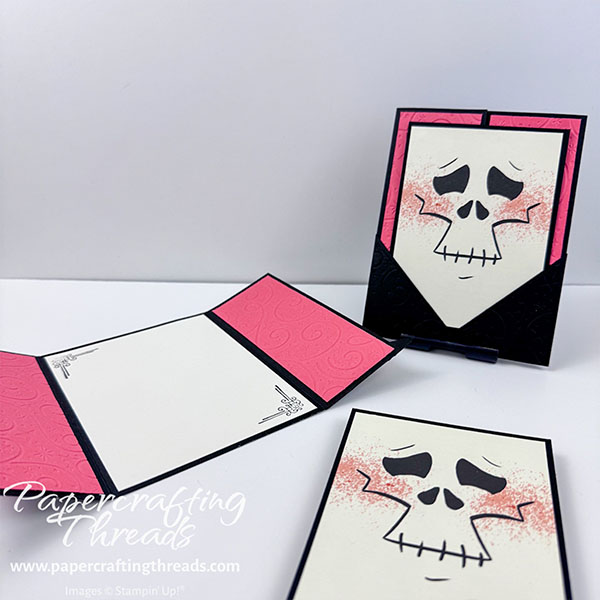
Ditch the belly band and make a self-closing Pocket Gatefold Card! The card starts off as an ordinary gatefold, but the clever placement of triangles hold the gate panels closed. What better way to show off that focal point of a skellie face. So let’s get started.
cutting & scoring guide
| Paper Dimensions | Score Short Side | Score Long Side | ||||
| 8½” x 5½” Basic Black cardstock base | 2⅛” from each end | |||||
| 2½” x 2½” Basic Black cardstock for base corners | ||||||
| 4″ x 5¼” Very Vanilla cardstock liner | ||||||
| 2¼” x 2¼” Basic Black embossed cardstock for decorating corners | ||||||
| 3½” x 4¾” Basic Black cardstock mat for pullout | ||||||
| 1⅞” x 5¼” Calypso Coral cardstock embossed panels (cut 4) | ||||||
| 3¼” x 4½” Spooktacular patterned paper for pullout |
step by step instructions
Start by cutting all cardstock and patterned paper as noted above in the guide. PRO TIP: I used the spectacular Spooktacular Designer Series Paper featuring large character faces measuring 6″x6″. For the skeleton image, I first cut ½” from the bottom of the square, before cutting the top to measure 4½”. Then I cut 1⅜” off each side to frame the face. For the vampire and the Frankenstein, I adjusted the finished facial piece to 3⅜ x 4⅝” to keep more of the character details.
Fold the two side panels in towards the center of the card base. Stamp the decorative element from Raven’s Tale stamp set in black ink on the Very Vanilla liner. Adhere the liner to the inside center of the card base.
Place all four narrow panels inside the Swirls of Magic embossing folder and emboss all at one time. Slice the large Basic Black square in half diagonally. Place the two triangles inside the Swirls of Magic embossing folder recreating the square shape and emboss.
Decide which side of the embossed panels should show. I used the debossed side for my card. Adhere the narrow panels to both the front and back of the side flaps with liquid glue.
Creating the Pocket Gatefold Card Mechanism
Position one of the plain triangles over the lower left corner, noting where the top of the triangle rests. Slide aside and squeeze liquid glue along the edge, down around the corner and along the lower edge of the left flap. I found it works best to run the bead of glue overlapping the narrow embossed panel edge. Press and adhere the left triangle, squaring up the corner. The tip of the triangle will extend past the flap towards the right.
Repeat with the plain right triangle. Set aside to dry.
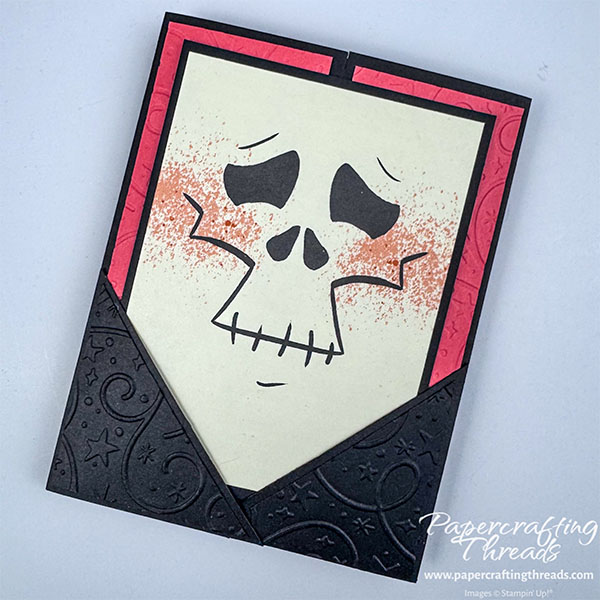
Adhere the facial element to the plain black mat. Run a bone folder inside the corner triangles to loosen the paper fibers a little. Slide the skeleton face inside the opening created by the triangles.
And lastly, adhere the two embossed triangles to the corners with liquid glue.
If you found this tutorial helpful, consider a contribution to my coffee fund ☕️ Coffee → Creativity → Content → More Coffee (help fuel the cycle!)
I did not add a pull tab ribbon at the center top of the face panel. I thought it detracted from the face. And that’s the same reason there is no greeting or sentiment on the front.
More Versions of the Pocket Gatefold Card
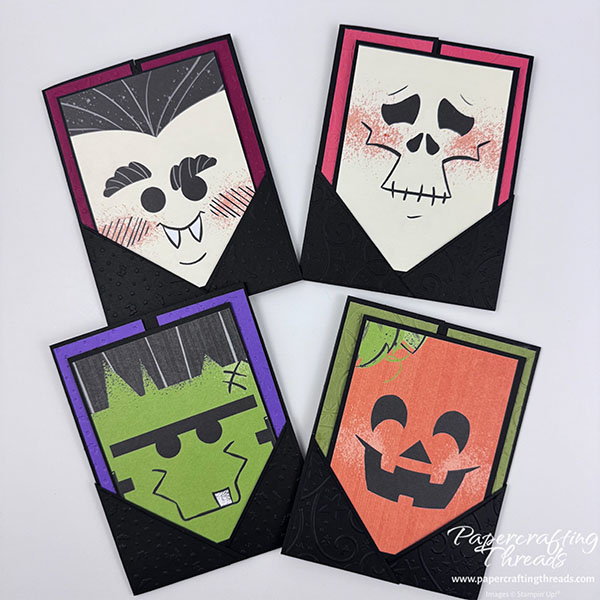
Here’s the whole crew! I keep changing my mind about which one’s my favorite, so let’s just say they all are.
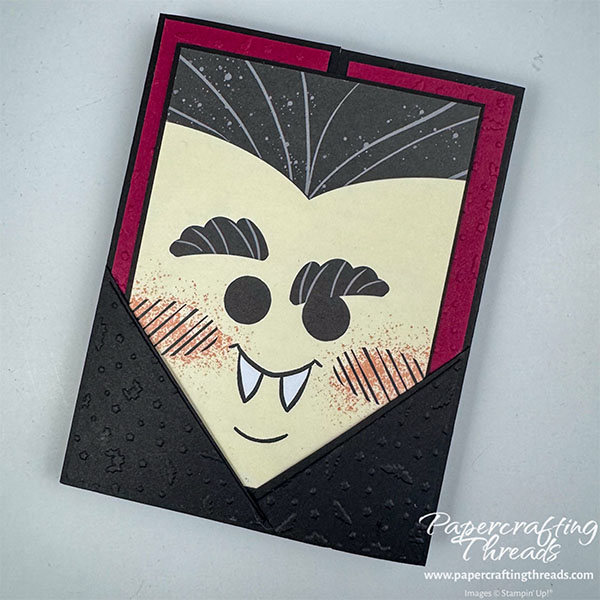
Viktor has a Cherry Cobbler cardstock panels embossed with bats and stars from the Seasonal Cheer trio of embossing folders.
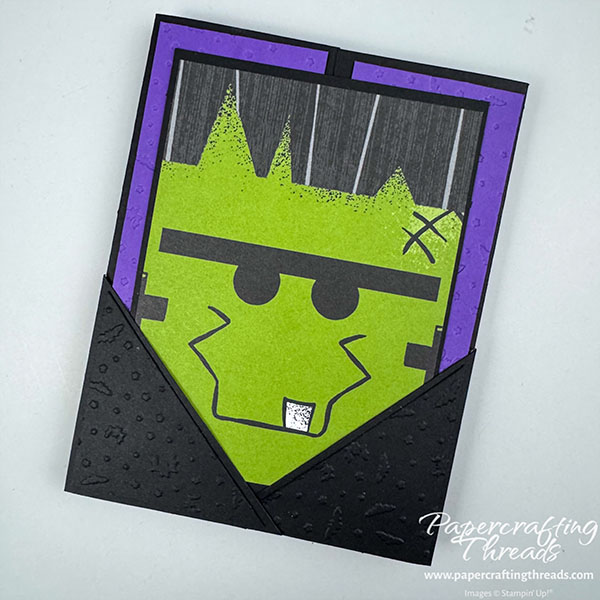
Frankie has Gorgeous Grape cardstock panels.
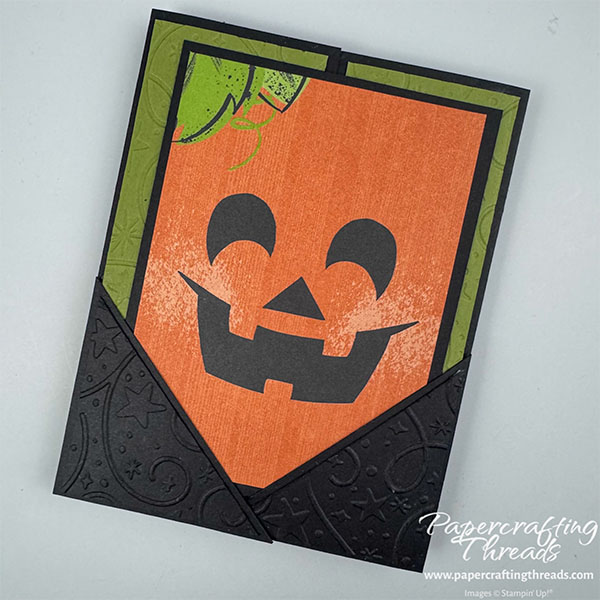
And Old Olive cardstock panels set off Jack.
I posted a how-to video over on my YouTube channel as well. Check it out below! Do you have a favorite? Let me know in the comments.

thanks for sharing, so cute
thank you!
TYFS! This is a perfect for large images! I’m anxious to find other ways to use this type gate fold. I’m sending this to my customers-urging them to follow you.
Thank you! I think this gatefold would be great for large, scenic paper to really show off the focal point.